27 Pretty Ripple Crochet Blanket Ideas
2. Introduction
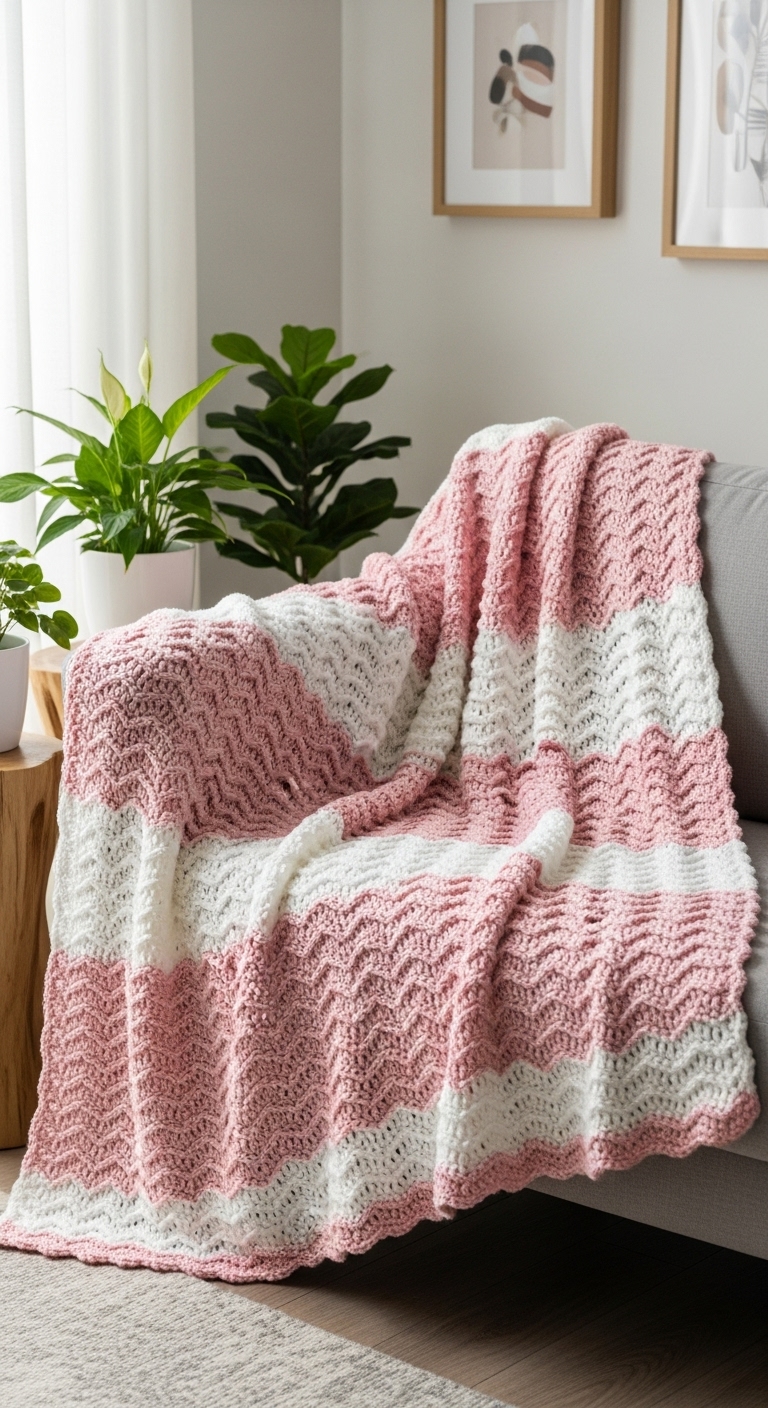
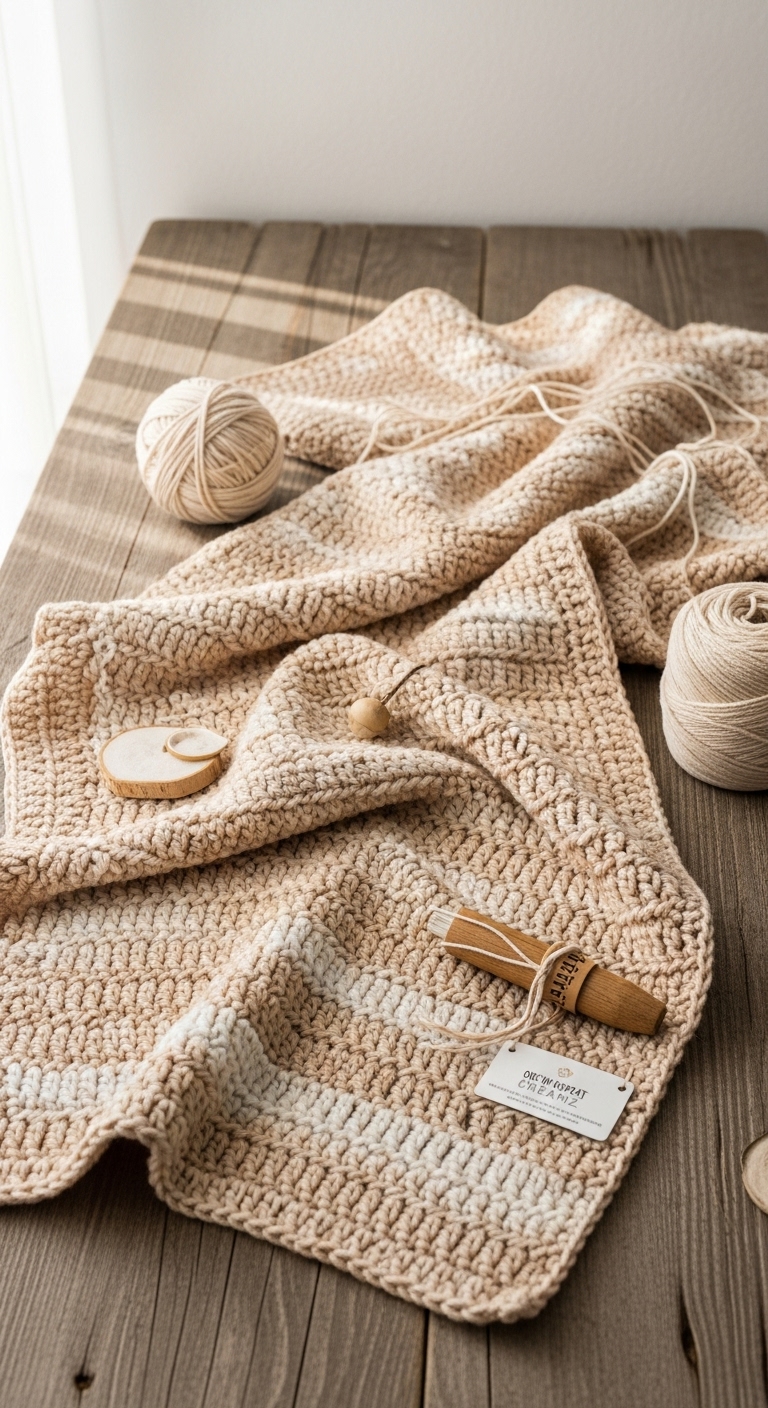
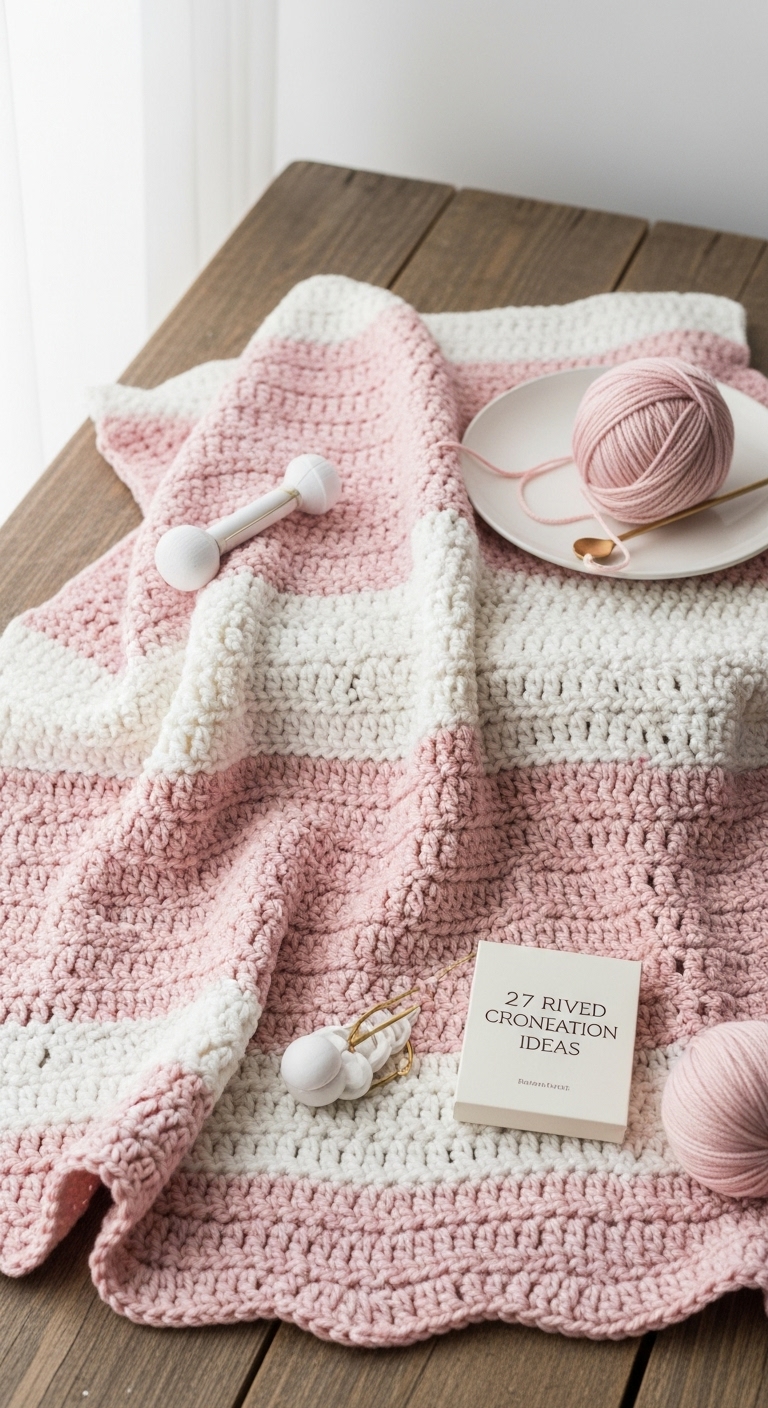
Ripple crochet blankets are a delightful project that not only showcases your crochet skills but also brings warmth and style to any home. These blankets come in various sizes, typically ranging from baby blankets at about 30” x 36” to larger throws measuring around 50” x 60”. The ripple pattern adds an elegant wave effect that is visually stunning and comforting, making them perfect for snuggling up or displaying on your couch.
When it comes to yarn, consider using a soft, medium-weight yarn in complementary adult-friendly colors such as muted teal, soft gray, and cream. This combination not only looks sophisticated but is also versatile enough to fit into any décor. The fun part of creating ripple blankets is how quickly they come together, especially if you’re familiar with basic crochet stitches. Suitable for intermediate crocheters but also accessible for adventurous beginners, these blankets are a fantastic gift option for baby showers, weddings, or just to add a personal touch to your living space.
3. Materials Needed
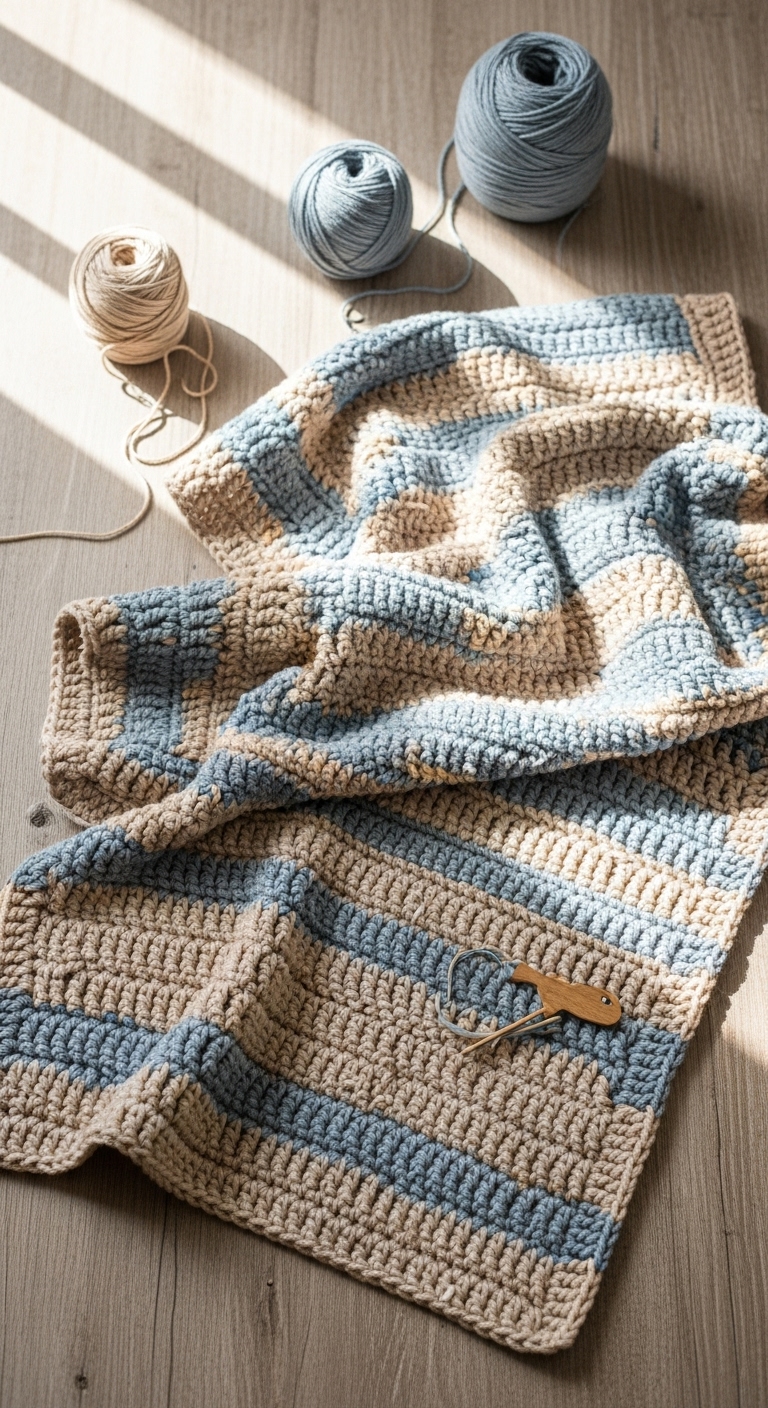
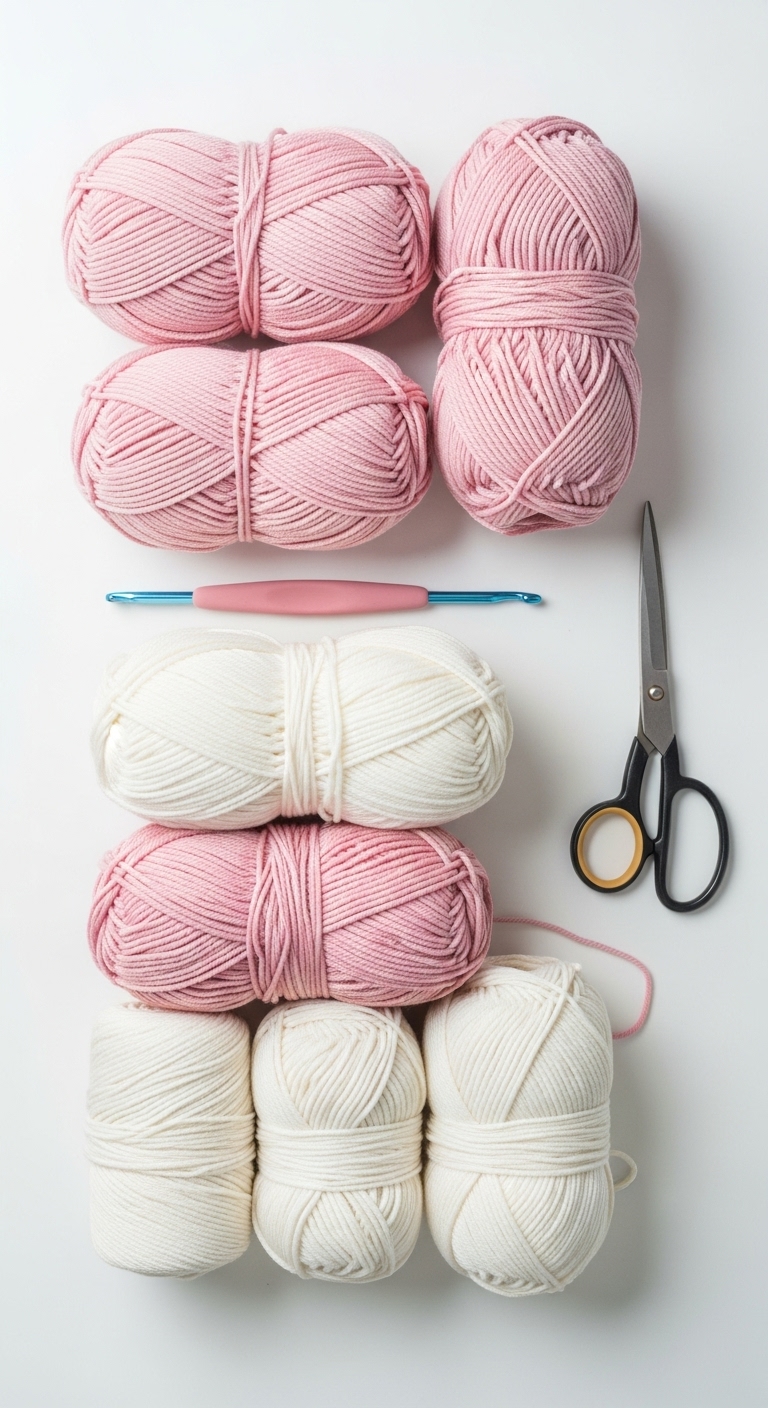
– Yarn: Worsted weight yarn in muted teal, soft gray, and cream – approximately 1,200 yards total
– Hook: 5.0mm crochet hook
– Marker: Stitch marker
– Needle: Tapestry needle for weaving in ends
– Optional extras: Fringe yarn for decorative edges, quilt batting (for added warmth)
4. Designer Notes / Tips
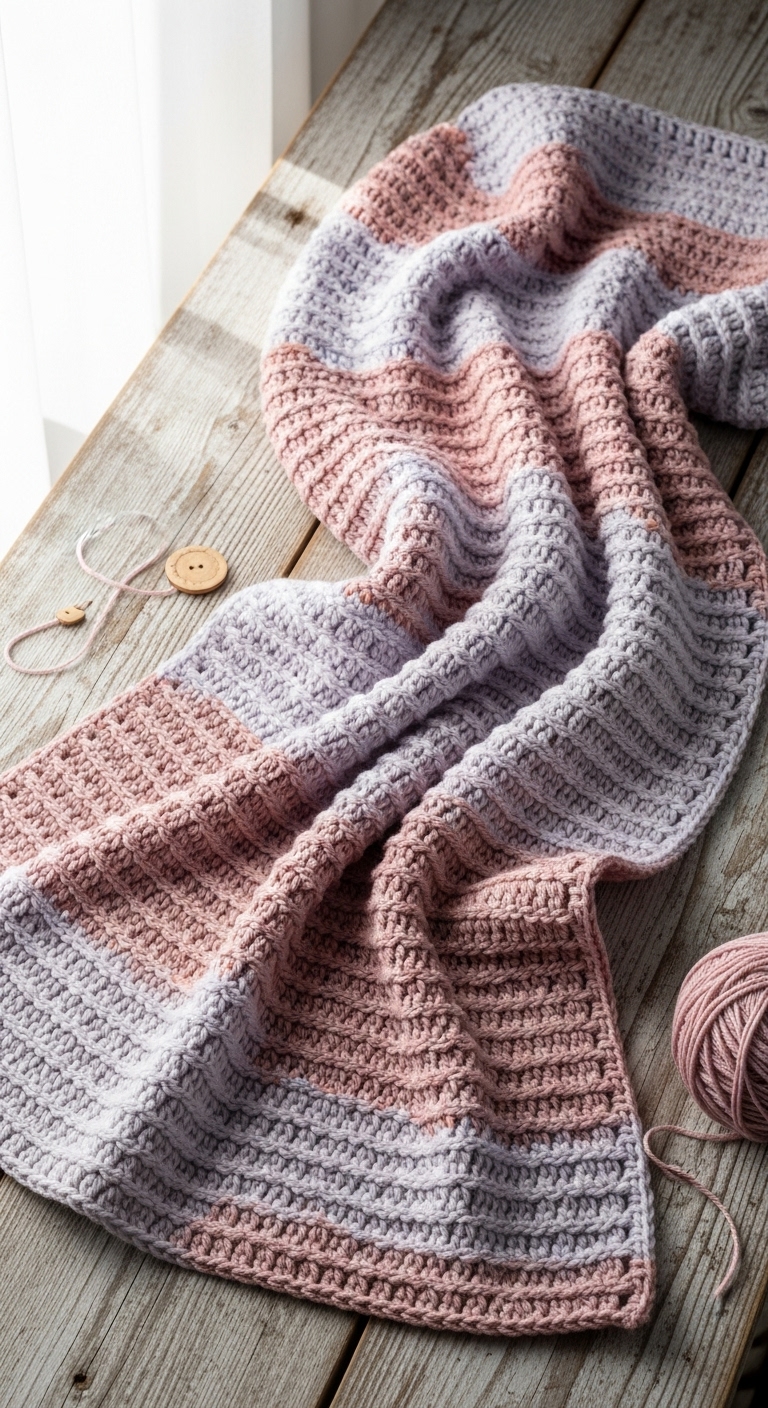
Creating a ripple blanket involves mastering a few basic stitches, primarily double crochet and chain stitches. These stitches not only help in achieving the wave effect but also provide a lovely texture. When it comes to stuffing density — while the blanket itself doesn’t require stuffing, ensuring your tension is consistent will keep the ripples uniform and even.
For assembly, if you are planning to add a decorative border or fringe, make sure to finish off the main body of the blanket before beginning these final touches. Yarn substitutions are fairly easy here; you can opt for cotton yarn for a more breathable feel or a chunky yarn for added warmth. If you’re concerned about gauge, remember that consistent tension is key to achieving the desired size, so make a small swatch before diving into the full project.
Finally, if you’re making this blanket as a gift for a child, consider using safety-approved materials and avoiding any embellishments that could pose a choking hazard.
5. Pattern Instructions
For Ripple Blanket:
– Foundation: Start with a foundation chain that is a multiple of 14 + 3. For a baby blanket, 90 chains will suffice.
– Row 1: Dc in the 4th chain from the hook (this counts as your first dc), then dc in the next chain. *Skip 2 chains, then create 5 dc in the next chain (this creates the peak). Skip 2 chains, then dc in the next chain. Repeat from * until the last 2 chains, dc in the last chain. Turn.
– Row 2: Ch 3, dc in the first dc of the previous row. *In the peak, work 5 dc, then dc in the next dc. Repeat from * to the end.
– Repeat Row 2 until the blanket reaches your desired length.
– Finishing: Once you are satisfied with the length, finish off and weave in all ends with the tapestry needle.
Optional Decorative Border:
For a finishing touch, you can add a simple single crochet border around the entire blanket.
6. Closing & Social Engagement
I hope you enjoyed creating your ripple crochet blanket! The joy of seeing your completed project is unmatched. Each ripple you create adds a unique touch that is just as beautiful as the recipient. I’d love to see your version! Leave a comment below sharing your experiences or any color combinations you chose. What color palette will inspire your next ripple blanket? Don’t forget to share your finished project on social media!