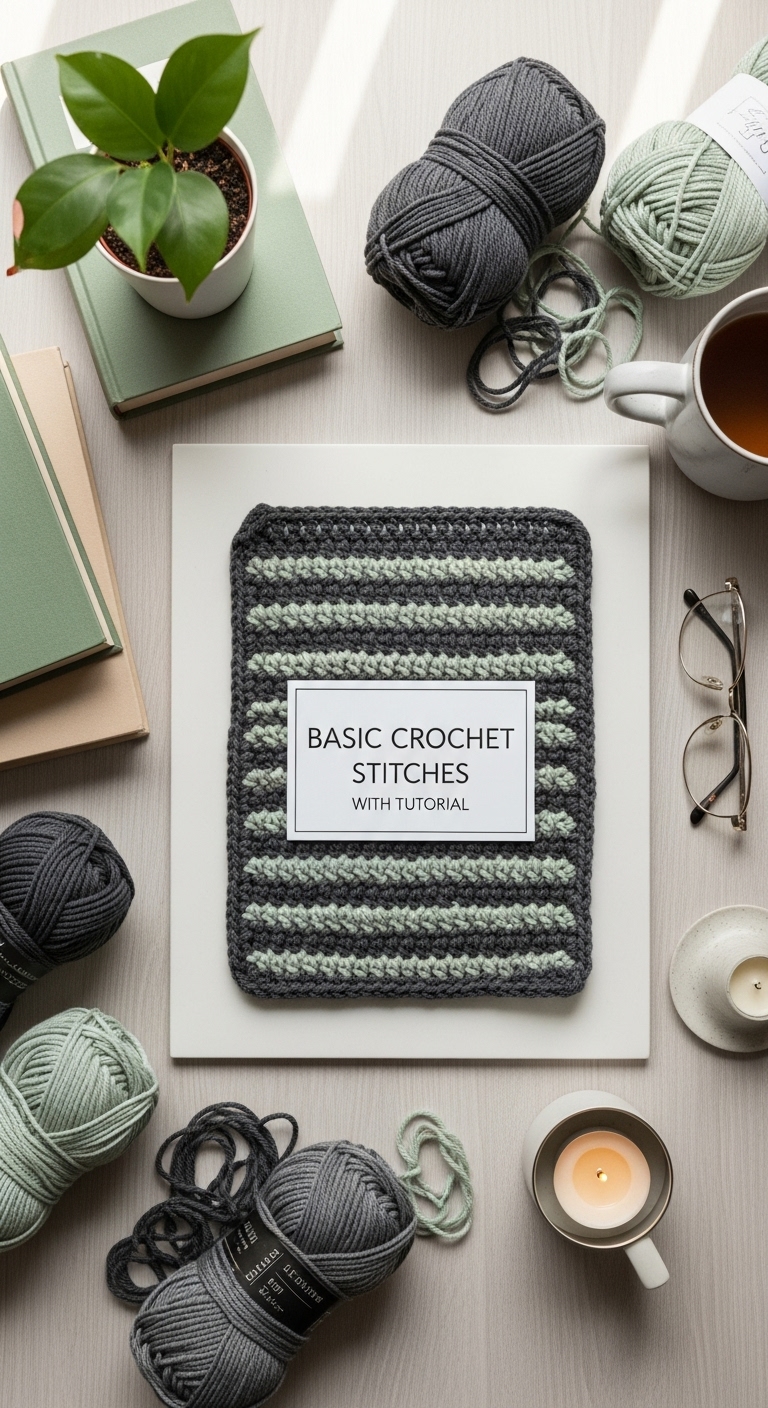
Basic Crochet Stitches with Tutorial
2. Introduction
Welcome to our cheerful crochet journey where we will dive into the world of basic crochet stitches! This project is perfect for beginners looking to build their skill set, as it focuses on fundamental stitches and techniques that are the backbone of many crochet projects. By mastering these stitches, you’ll soon be ready to tackle a variety of plushies, accessories, or even garments.
For this tutorial, we will be using a medium weight yarn (Category 4) in three delightful colors: a soft, calming mint green, a rich taupe, and a vibrant coral. These colors not only complement one another beautifully but also add an adult-friendly touch that can be used in a variety of projects. Getting started with crochet is both fun and quick; once you get the hang of it, you’ll be amazed at how satisfying it is to create something by hand. This tutorial is designed for beginners, with step-by-step guidance that will help you gain confidence as you crochet. Plus, learning these basic stitches opens the door to making thoughtful gifts for friends and family, making it seasonal and special!
3. Materials Needed
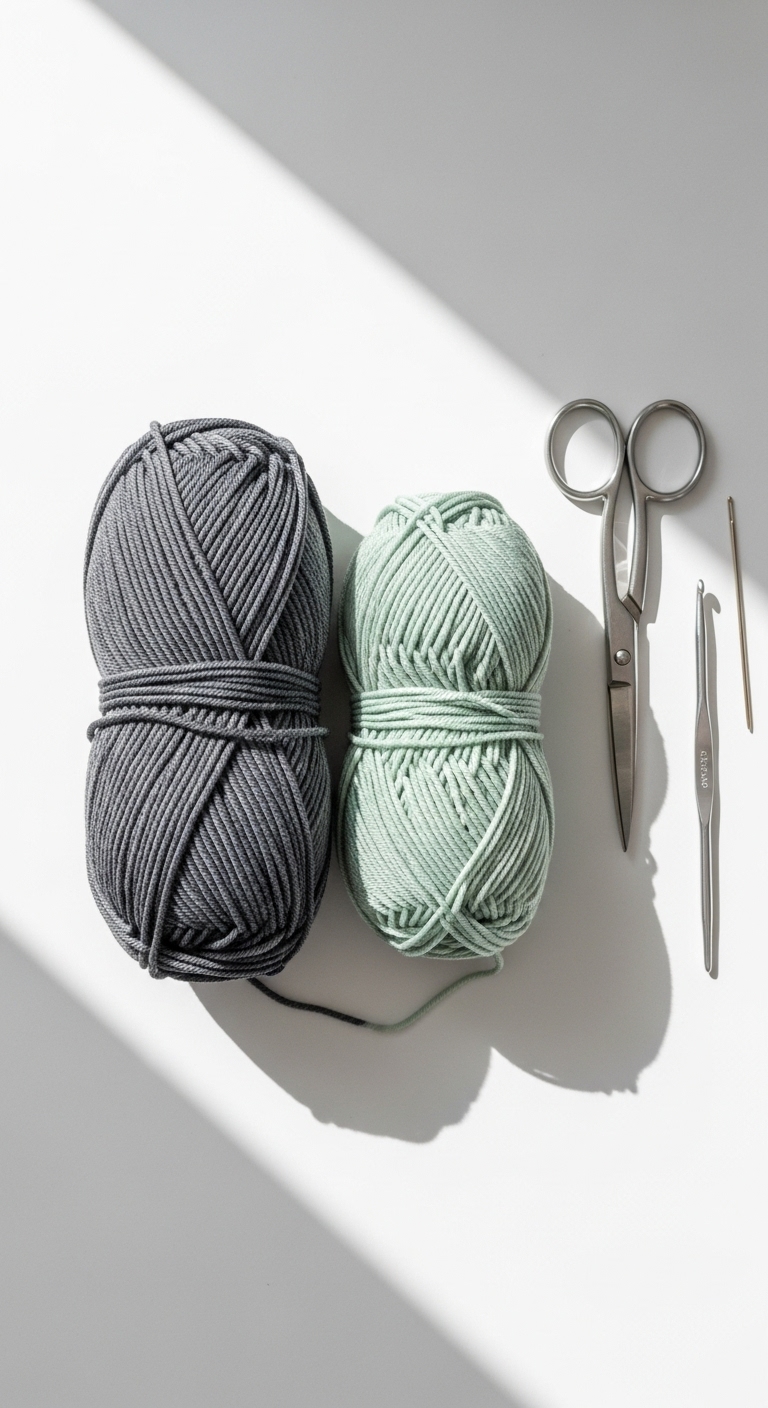
– Yarn: Medium weight yarn (Category 4) in mint green, taupe, and coral – approximately 200 yards in total
– Hook: 3.5mm or 4.0mm crochet hook
– Eyes: Safety eyes (12mm) or use black embroidery thread for eyes
– Stuffing: Polyester fiberfill stuffing (if making plushies)
– Needle: Tapestry needle for sewing in ends and assembling pieces
– Marker: Stitch marker to keep track of your rounds
– Optional extras: Pipe cleaners for added rigidity in plushies, buttons for decoration
4. Designer Notes / Tips
As you embark on this crochet journey, here are a few helpful tips to keep in mind:
– Stitch technique: Focus on maintaining consistent tension as you work through each stitch. This consistency will help your finished project look polished and professional.
– Stuffing density: If you are making plushies, consider using a light stuffing for a soft and huggable feel, or firm stuffing for a sturdier shape.
– Assembly: When joining pieces, use a whip stitch or slip stitch for a seamless finish. Make sure to securely attach limbs and features to ensure durability.
– Yarn substitutions: If you prefer different colors or textures, feel free to experiment with cotton or acrylic blends, but be aware that this may change the overall look and feel of your project.
– Gauge tips: While this project doesn’t require a precise gauge, it’s always helpful to crochet a small swatch to ensure you’re comfortable with the yarn and hook size.
– Safety considerations: For child-safe projects, ensure all components, such as safety eyes and small embellishments, are securely attached. You might also consider using embroidery for features instead of plastic elements.
5. Pattern Instructions
For Plushies:
– Head:
– Body:
– Arms/Legs:
– Ears:
– Assembly:
– Stuff the head and body lightly. Attach safety eyes between Rounds 6 and 7 of the head. Join the head to the body using a whip stitch. Attach arms and legs as preferred. Sew on ears. Finish with a smile using black embroidery thread.
For Accessories:
– Main Panel:
– Straps:
– Closure: Sew a button on one end and create a loop with yarn on the other.
– Finishing: Weave in all ends, and block your piece as needed to shape it.
6. Closing & Social Engagement
Congratulations on diving into the world of crochet! Remember, practice makes perfect, and don’t worry if your first few pieces aren’t exactly what you envisioned. Each stitch is a step toward improving your craft. I’d love to see your version of these basic crochet stitches! Please leave a comment below sharing your thoughts or any questions you have.
What color combination will you try for your next project? Share your finished creations on social media, and let’s inspire each other to keep crafting beautiful handmade items!