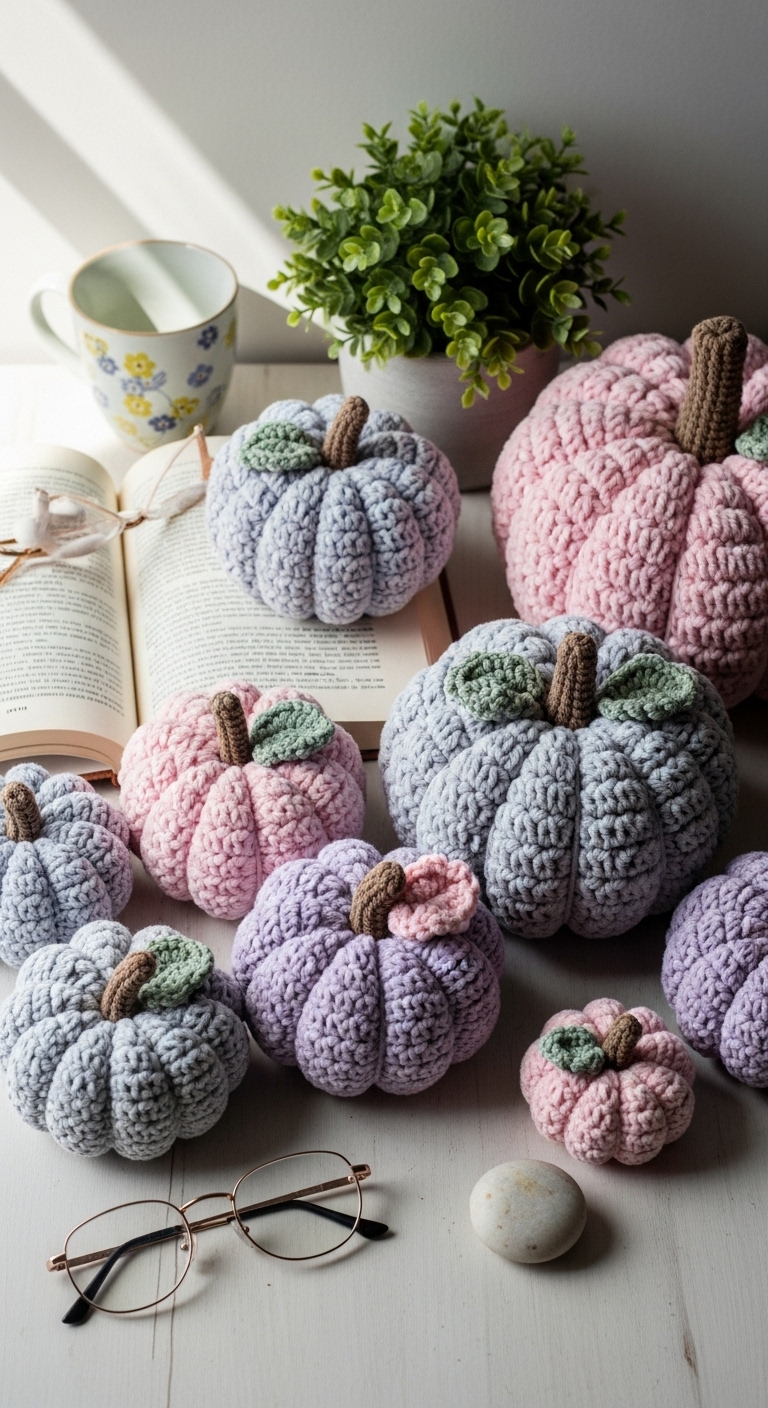
Bobble Stitch Pumpkins

2. Introduction
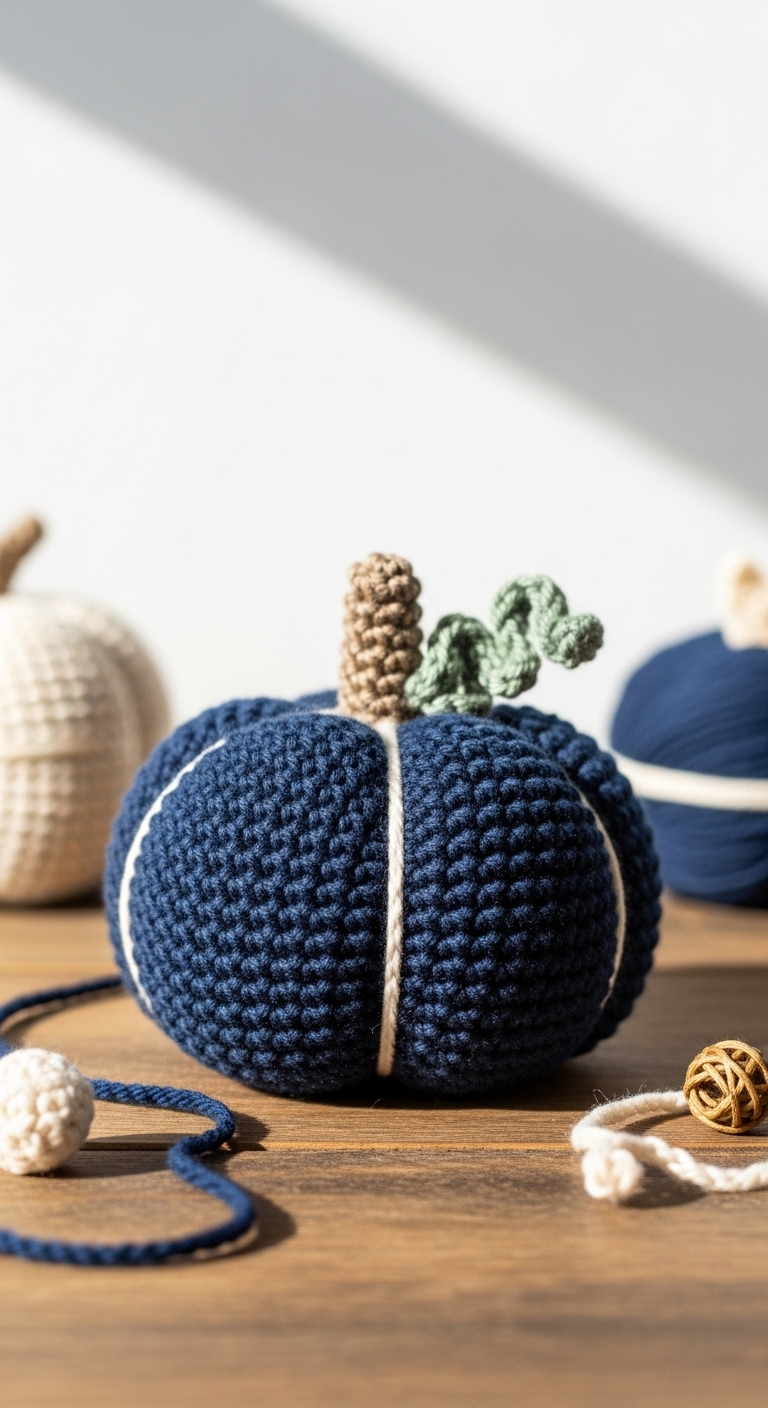
Welcome to the delightful world of crochet with these charming Bobble Stitch Pumpkins! Measuring approximately 6 inches in diameter, these pumpkins are the perfect plush addition to your fall decor. Whether you display them on a mantel, use them as centerpieces, or give them as thoughtful gifts, these pumpkins will bring a touch of whimsy to any space.
For this project, you’ll need worsted weight yarn in a warm color palette. We recommend using shades like deep orange, rich brown, and a soft cream, which create a beautiful autumnal feel. The texture of the bobble stitch adds a unique, tactile element that makes these pumpkins both fun to crochet and pleasing to the eye. This project is perfect for beginners looking to explore new textures and techniques, and is great for seasonal gifting!
3. Materials Needed
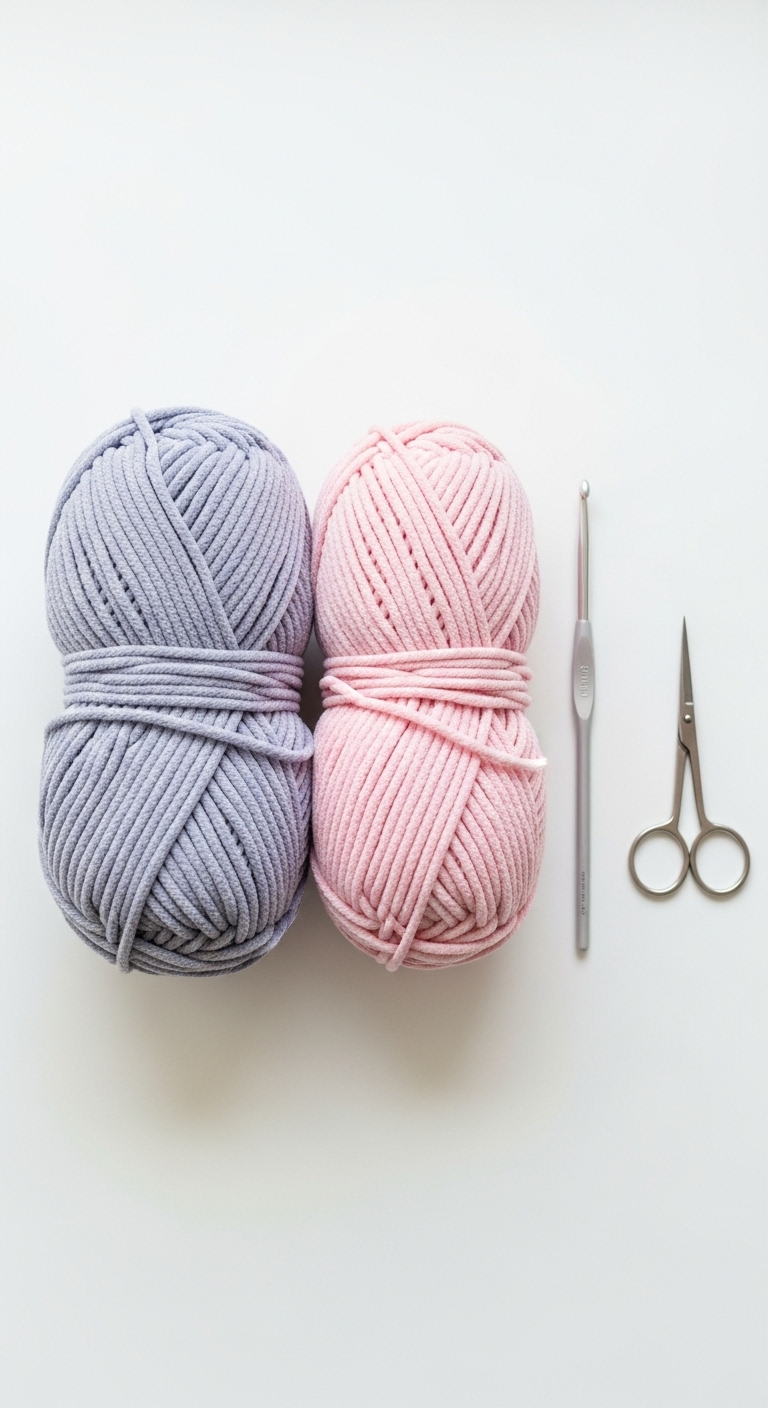
– Yarn: Worsted weight yarn in deep orange (approx. 100 yards), rich brown (approx. 25 yards), and soft cream (approx. 10 yards)
– Hook: 3.5mm or 4.0mm crochet hook
– Eyes: Safety eyes (12mm) OR black embroidery thread
– Stuffing: Polyester fiberfill stuffing
– Needle: Tapestry needle for sewing
– Marker: Stitch marker
– Optional extras: Cinnamon stick for a stem (if desired)
4. Designer Notes / Tips
As you work on your Bobble Stitch Pumpkins, keep in mind that the bobble stitch can take a little practice! If you’re unfamiliar, it’s created by working multiple double crochets into one stitch. This technique not only adds wonderful texture but also results in a stunning visual effect that resembles the natural bumps on a pumpkin’s skin.
For stuffing, I recommend a light density for a soft feel, but if you prefer a more structured pumpkin, don’t hesitate to pack it a bit firmer. When assembling, remember to secure all pieces thoroughly, especially if you’re adding safety eyes. If you want to substitute yarn, any worsted weight yarn will work, but keep the color combinations in mind for that autumn vibe.
Lastly, make sure to check your gauge! If your stitches are too tight or too loose, your pumpkin size may vary. If you’re making these as gifts for children, consider using embroidered eyes instead of safety eyes to ensure they are child-safe.
5. Pattern Instructions
For Plushies:
Head (Pumpkin Body):
Assembly:
– If using safety eyes, attach them securely between Rounds 7 and 8, approximately 6 stitches apart.
– Use the long tail from Round 13 to gather the top of the pumpkin, pulling tightly to close.
– You can create a stem using a cinnamon stick or crochet a small cylinder in brown yarn and attach it to the top.
Finishing Touches:
Once you’ve achieved your desired shape, you can embellish with a few leaves or vines using green yarn, if you like!
6. Closing & Social Engagement
I hope you enjoy creating your Bobble Stitch Pumpkins! They are perfect for celebrating the fall season and can be made in various colors to suit your home decor. Don’t hesitate to share your creations—I’d love to see your version! What color combination will you try? Share your finished pumpkins on social media and let’s inspire each other with our crocheted crafts!