Arm Chair Caddy Pattern
2. Introduction
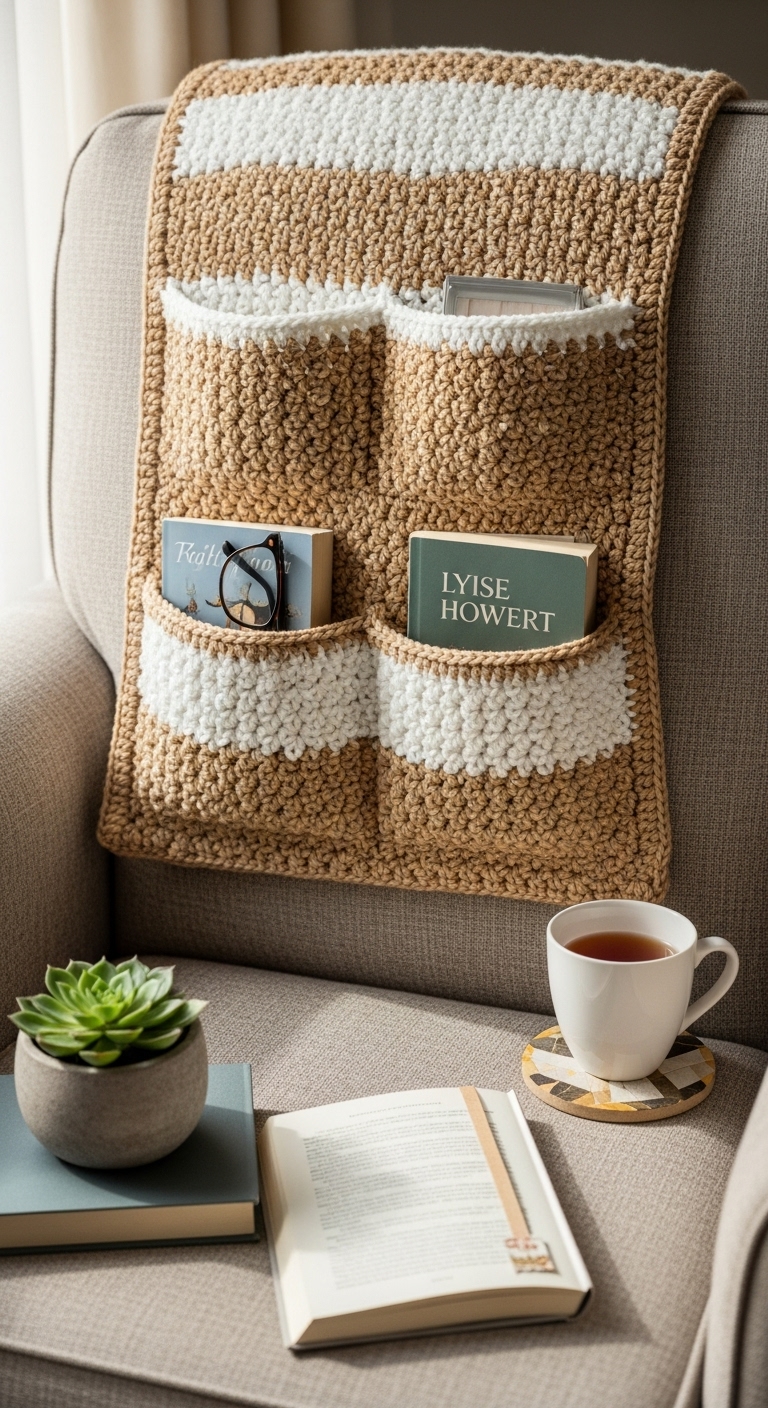
Get ready to add a touch of charm and functionality to your favorite cozy spot with our delightful Arm Chair Caddy Pattern! This handy accessory measures approximately 14 inches wide and 18 inches long, providing ample space to store your essentials—whether it’s your remote control, a few snacks, or your current crochet project. The caddy hangs conveniently over the arm of your chair, keeping everything within reach while adding a pop of color to your decor.
For this project, we’ll be using soft worsted weight yarn in a combination of sophisticated, adult-friendly colors: a deep navy blue, a warm taupe, and a crisp cream. These colors not only complement each other beautifully but also fit seamlessly into any modern living space. You’ll find this project special not just for its practicality but also for how quickly it comes together—perfect for those looking to whip up a thoughtful gift or a functional home accessory in no time. This pattern is beginner-friendly, making it an ideal project for novice crocheters looking to build their skills while creating something useful.
Whether you’re preparing for a cozy movie night or planning to give a housewarming gift, this arm chair caddy is sure to be appreciated by anyone who loves a tidy living space. Plus, it’s a fantastic way to personalize your home with a handmade touch!
3. Materials Needed
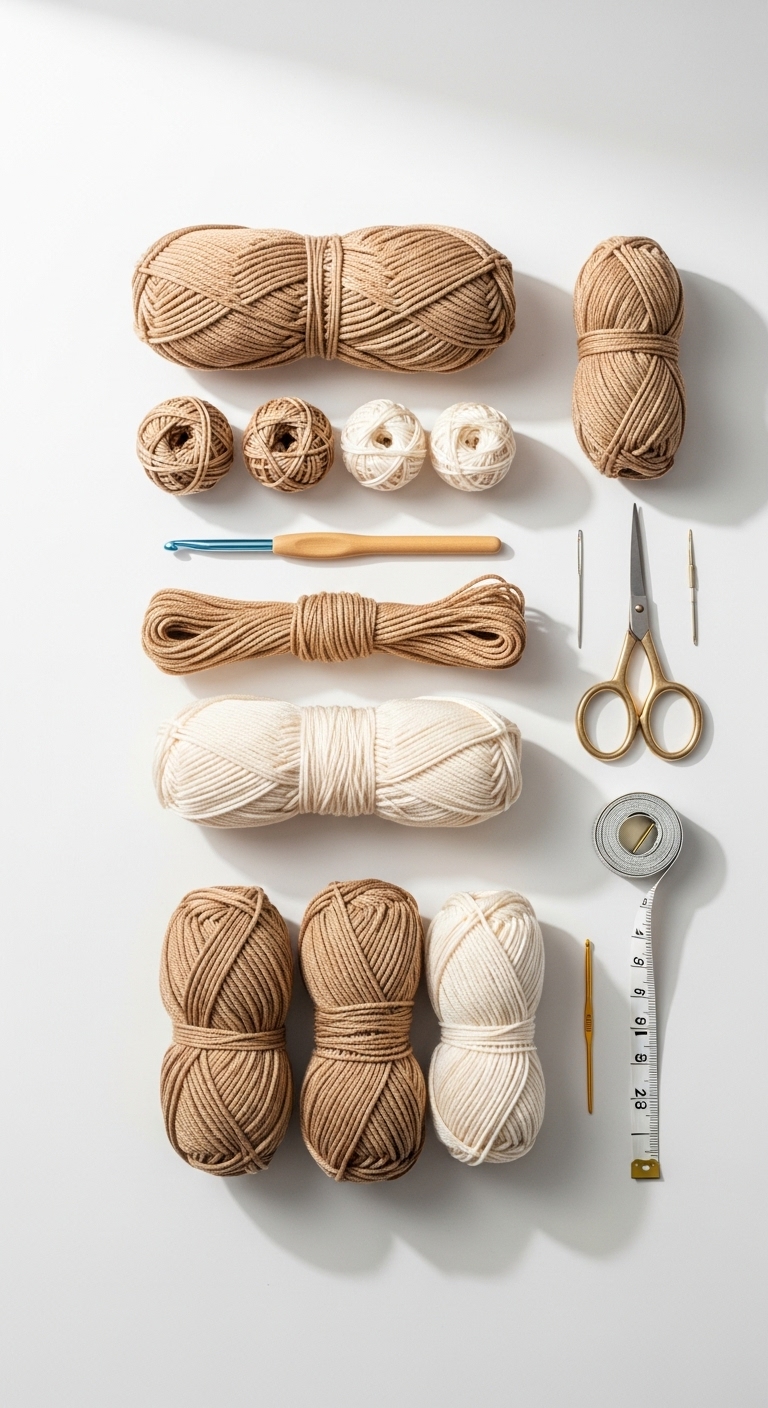
– Yarn: Worsted weight yarn in navy blue (approx. 150 yards), taupe (approx. 100 yards), and cream (approx. 100 yards)
– Hook: 4.0mm crochet hook
– Needle: Tapestry needle for sewing in ends
– Marker: Stitch marker
– Optional extras: Buttons for decoration or securing closure
4. Designer Notes / Tips
– Stitch Technique: The pattern primarily uses single crochet stitches for a clean and sturdy finish. Feel free to add a decorative border using slip stitches or a contrasting color for a pop!
– Assembly: When you reach the assembly phase, ensure that your caddy hangs properly by aligning the top edge evenly over the arm of your chair.
– Yarn Substitutions: While worsted weight is ideal, you could also use a cotton blend for a more textured look and durability, especially if the caddy will hold items frequently.
– Gauge Tips: While gauge isn’t critical for this project, ensuring that your stitches are consistent will help maintain the overall shape and structure of the caddy.
– Safety Considerations: If you plan to use this caddy in a household with small children, consider leaving off buttons or other decorative elements that could pose a choking hazard.
5. Pattern Instructions
Main Panel
Pocket Panel
– For the pocket, create a separate panel:
Assembly
1. Place the pocket panel onto the main panel, aligning it with the bottom edge. Attach it by working sc through both layers around the sides and bottom, leaving the top open for storage.
2. To create the arm loop, fold the top of the main panel over itself, approximately 4 inches down. Seam the sides to create a channel for your chair arm.
3. You may also add buttons to secure the caddy onto the chair arm if desired.
Final Touches
– Weave in all ends and block your caddy gently to smooth out any curling edges.
– If you wish, embellish your caddy with a decorative border or your chosen buttons!
6. Closing & Social Engagement
I hope you enjoy making your Arm Chair Caddy and that it brings a touch of handmade warmth to your living space! I’d love to see your version! Leave a comment below sharing your color combinations or any adjustments you made. What unique twist will you add to your caddy? Don’t forget to share your finished piece on social media using the hashtag #ArmChairCaddy!