FREE Amigurumi Triceratops Crochet Pattern With Step-by-Step Photos
2. Introduction
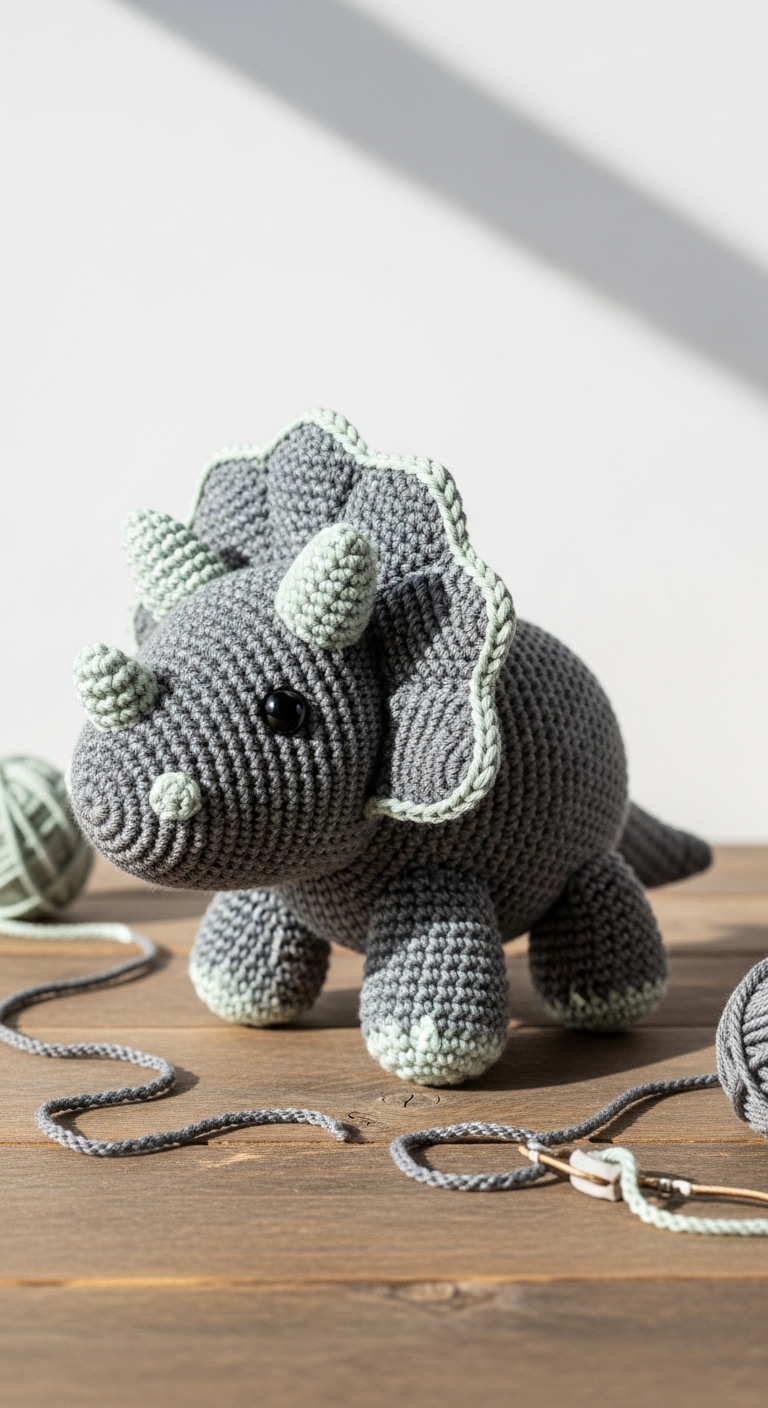
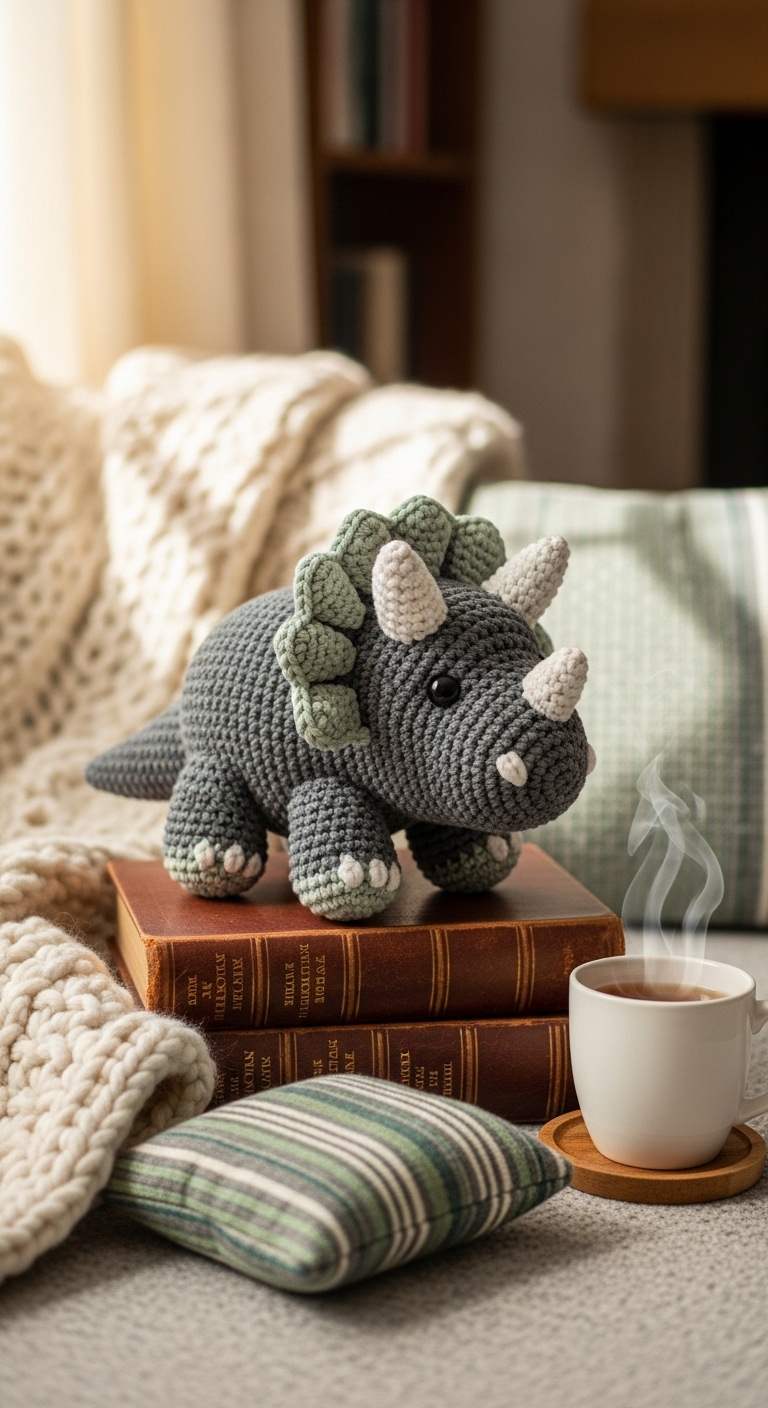
Welcome to your next crochet adventure! In this article, we’ll be tackling an adorable Amigurumi Triceratops that stands approximately 8 inches tall when completed. This charming little dinosaur is not just a delightful plushie; it can also be a fun decorative piece for your home or a thoughtful gift for a child or dinosaur enthusiast.
For this project, you’ll need a soft, medium-weight yarn in three complementary adult-friendly colors: a rich teal for the body, a sandy beige for the horns and underbelly, and a warm brown for the details. The combination of these earthy tones creates a sophisticated yet playful look, perfect for anyone who loves the whimsical world of Amigurumi. This pattern is designed to be beginner-friendly, meaning you’ll find clear, step-by-step instructions to guide you through every round.
Crocheting this little Triceratops is not only quick but also incredibly satisfying. You can whip it up in just a few evenings, making it an excellent option for last-minute gifts or seasonal decorations. Whether you’re making it for yourself or someone special, this Triceratops is sure to bring a smile!
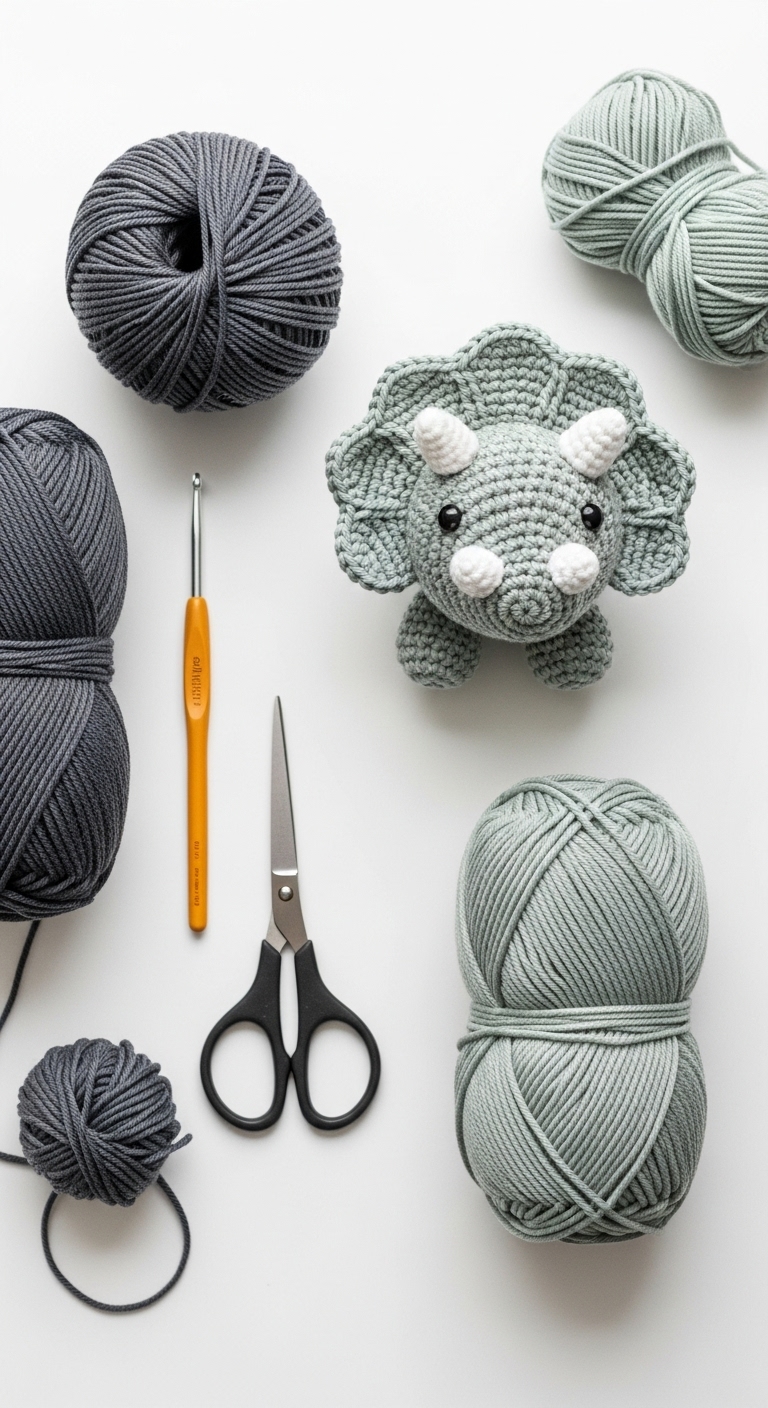
3. Materials Needed
– Yarn: Medium-weight (Worsted) yarn in teal (approx. 150 yards), beige (approx. 50 yards), and brown (approx. 30 yards)
– Hook: 3.5mm or 4.0mm crochet hook
– Eyes: Safety eyes (12mm) OR black embroidery thread
– Stuffing: Polyester fiberfill stuffing
– Needle: Tapestry needle for sewing
– Marker: Stitch marker to keep track of rounds
– Optional extras: Pipe cleaners for a more structured tail or horns
4. Designer Notes / Tips
As you embark on creating your Triceratops, there are a few tips to keep in mind to ensure your project goes smoothly. Use a slip stitch for the seamless look between rounds. When stuffing your plushie, aim for a medium density; you want it to be firm enough to hold its shape, but soft enough to be cuddly.
For assembly, take your time to align the pieces properly before sewing them together. Using a stitch marker to mark the beginning of each round will help you keep track of your progress, especially in the round sections like the head and body. If you wish to substitute the yarn, you can use any soft medium-weight yarn, but be mindful of the gauge if you want to maintain the same size.
If you’re making this as a gift for a child, consider using embroidered eyes instead of safety eyes to minimize any choking hazard. Happy crocheting!
5. Pattern Instructions
For Plushies:
Head:
*Stuff the head before closing.*
Body:
*Stuff the body firmly before closing.*
Arms/Legs (Make 4):
*Leave a long tail for sewing.*
Ears (Make 2):
*Don’t forget to attach the ears to the top of the head!*
Tail:
*Stuff lightly and attach to the back of the body.*
Assembly:
1. Attach safety eyes between rounds 7 and 8 of the head.
2. Sew the head to the body securely.
3. Attach arms on either side and legs at the bottom.
4. Finally, sew the tail at the back and add the ears.
6. Closing & Social Engagement
I hope you enjoyed making your very own Amigurumi Triceratops! Don’t worry if it doesn’t turn out perfect on your first try; every stitch is a step toward improvement, and you’ve absolutely got this!
I’d love to see your version! Leave a comment below sharing your experience or any creative color combinations you decide to use. What unique twist will you add to your Triceratops? Don’t forget to share your finished creation on social media using the hashtag #MyTriceratopsCrochet. Happy crocheting, and enjoy your new plushie friend!