Adorable Ghost Crochet Patterns (Free!)
2. Introduction
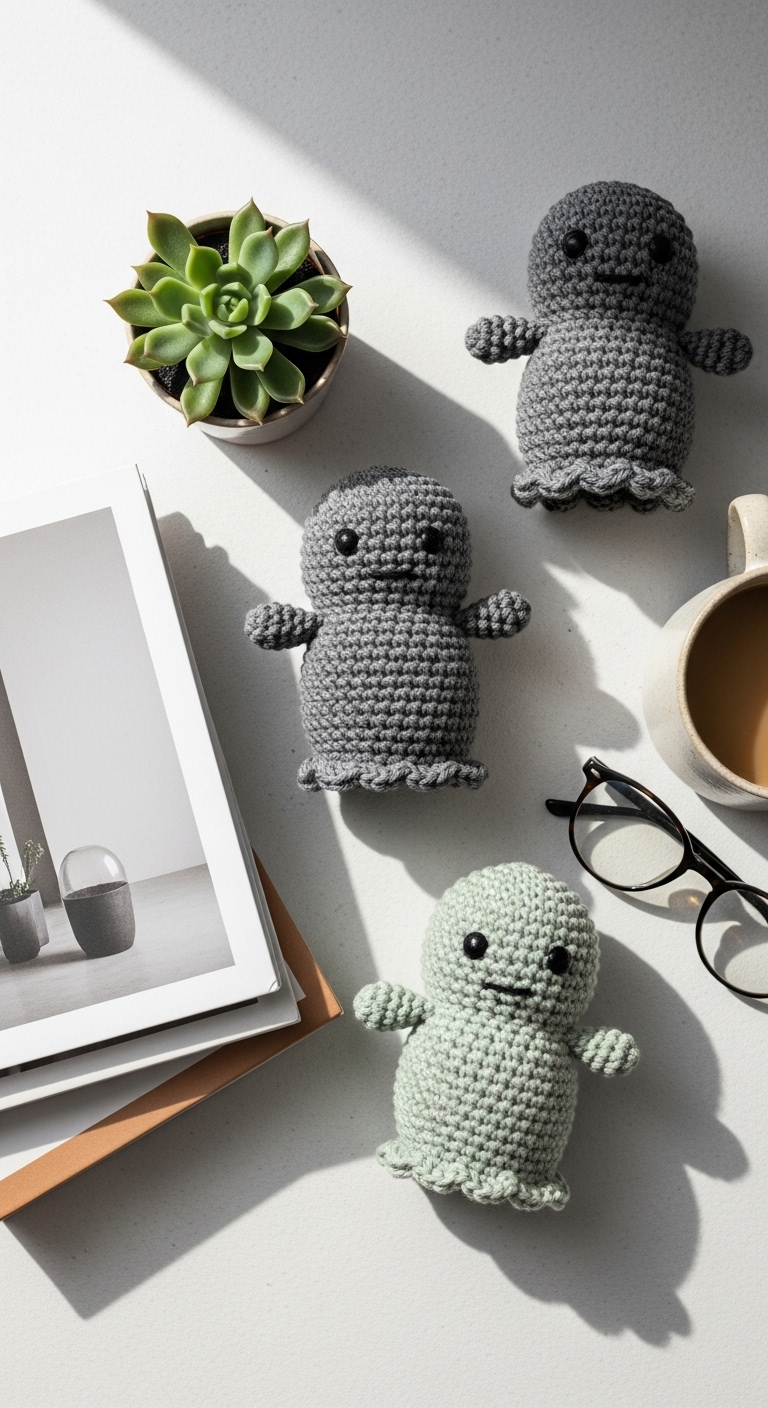
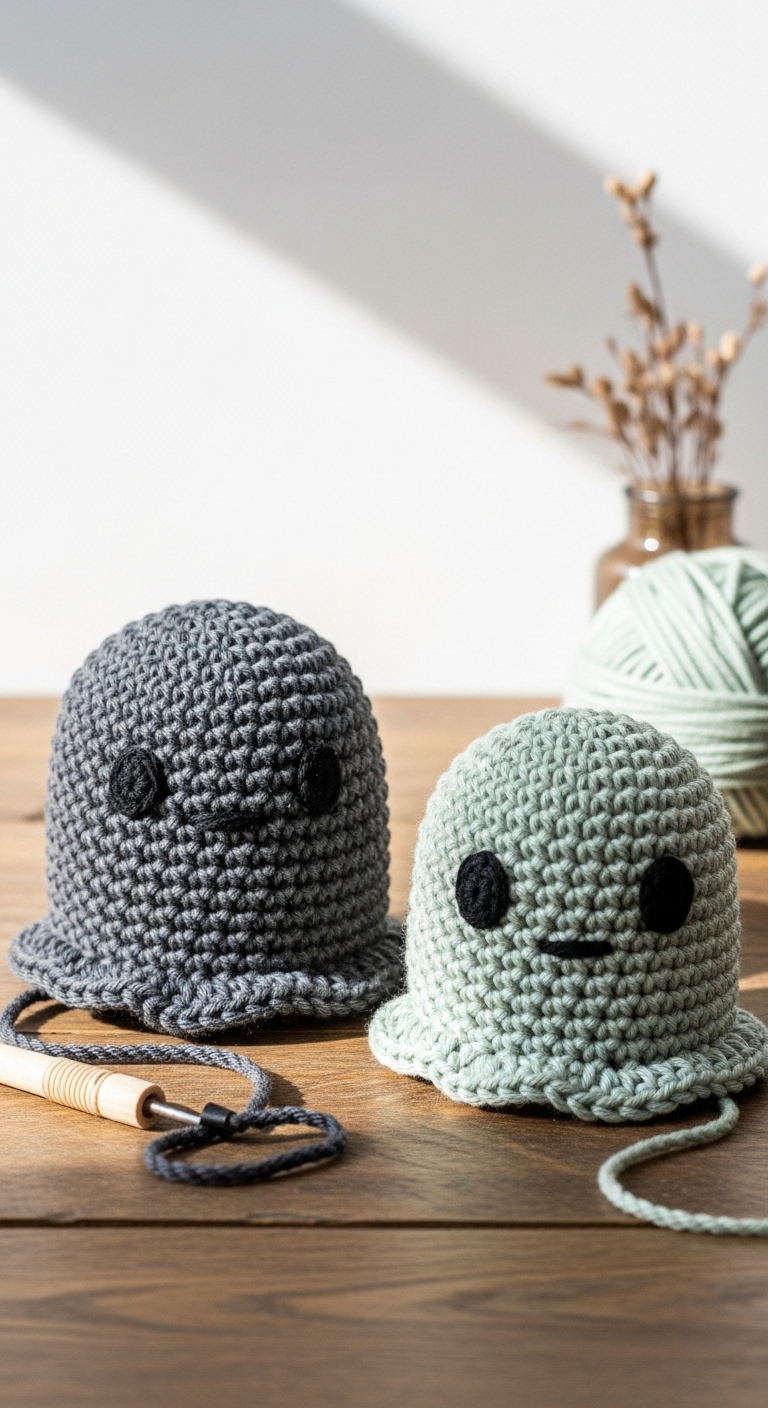
Welcome to the whimsical world of crochet with our adorable ghost crochet patterns! These charming little ghosties are perfect for adding a touch of festive spirit to your home decor during the Halloween season. Each ghost measures approximately 6 inches tall, making them the perfect size for displaying on your mantel, adorning your Halloween table, or gifting to a friend who appreciates the handmade touch.
For these ghosts, we recommend using soft, cozy DK-weight yarn in a palette of complementary colors, like snowy white, gentle lavender, and a hint of soft orange. These adult-friendly colors create a sophisticated yet playful look that will delight anyone who sees them. Not only are these patterns quick and enjoyable to make, but they also allow you to experiment with minimalistic design while creating a delightful seasonal decoration. This project is beginner-friendly, making it an ideal choice for those who are just starting their crochet journey. Plus, they make wonderful gifts for loved ones or fun additions to your Halloween decorations!
3. Materials Needed
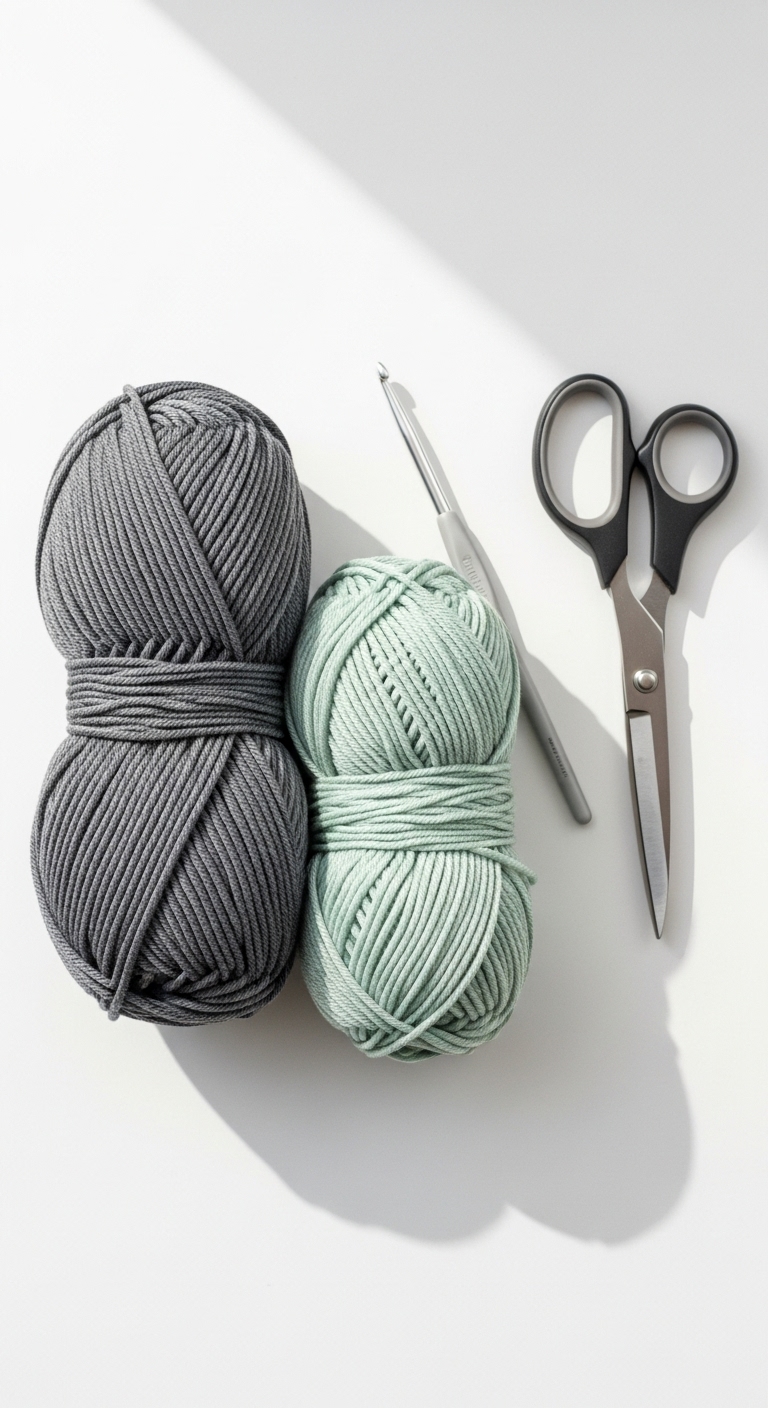
– Yarn: DK-weight yarn in white (approximately 150 yards), lavender (approximately 25 yards), and soft orange (approximately 25 yards)
– Hook: 3.5mm or 4.0mm crochet hook
– Eyes: Safety eyes (12mm) OR black embroidery thread for facial features
– Stuffing: Polyester fiberfill stuffing
– Needle: Tapestry needle for sewing
– Marker: Stitch marker
– Optional extras: Black felt for spooky accessories, small pom-poms for decoration
4. Designer Notes / Tips
When crocheting the ghost plushies, you’ll mostly be working in single crochet stitches, which creates a smooth texture. Don’t worry if you’re unfamiliar with the magic ring technique used to start the head; it’s a great skill to learn! For a light and cuddly ghost, use a light stuffing density so your ghost maintains its shape without being too firm.
When assembling the pieces, it’s best to sew them together securely with the tapestry needle, ensuring each part is attached neatly. If you want to change yarn brands, just ensure that the substitution is also a DK-weight yarn to maintain the same size and appearance. If you’re aiming for a consistent tension, remember that a tight gauge will make your finished ghost look more polished. If you’re creating a ghost for a child, consider securing the safety eyes with additional stitches or opting for embroidered features instead, to ensure safety.
5. Pattern Instructions
For Plushies:
Head:
– *Note*: Stuff the head lightly after Round 8.
Body:
– *Note*: Stuff the body after Round 10.
Arms:
Assembly:
1. Attach the head to the body, using a tapestry needle to sew around the neck area securely.
2. Position the arms on either side of the body and sew them in place.
3. Use safety eyes and attach them between Rounds 6 and 7 on the head.
4. Optionally, embroider a mouth or other face details using black embroidery thread.
5. To finish, weave in any loose yarn ends and give your ghost a gentle fluff to ensure it holds its shape!
6. Closing & Social Engagement
You’ve made it to the end of this delightful ghost crochet adventure! I’d love to see your version of these adorable ghosts—leave a comment below and share your thoughts! What color combination will you try? Whether you’re making a spooky set for your home or sharing them as gifts, these little ghosts are sure to bring smiles. Don’t forget to share your finished ghosts on social media! Happy crocheting!