Crochet Strawberry Stitch (Reversible) Pattern EASY Tutorial By Mushyy

2. Introduction
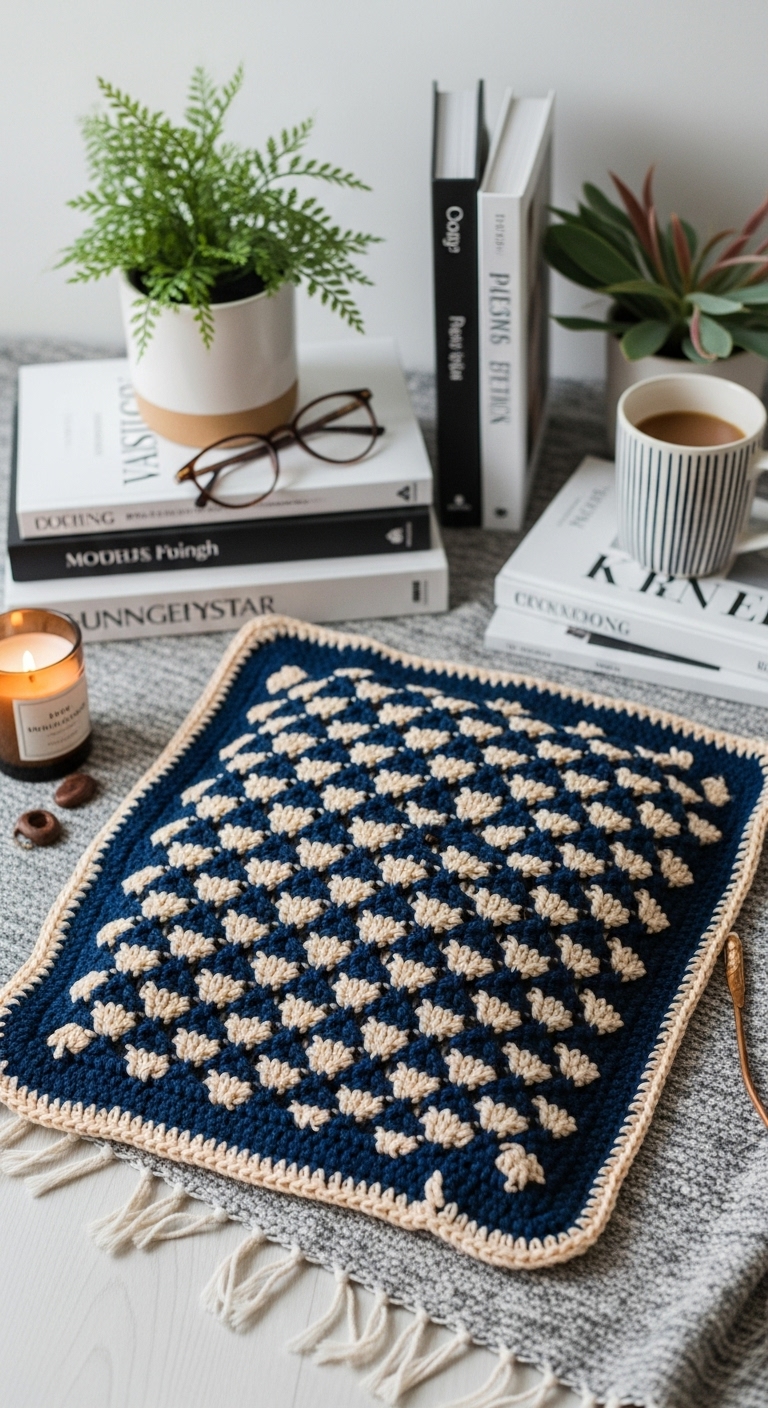
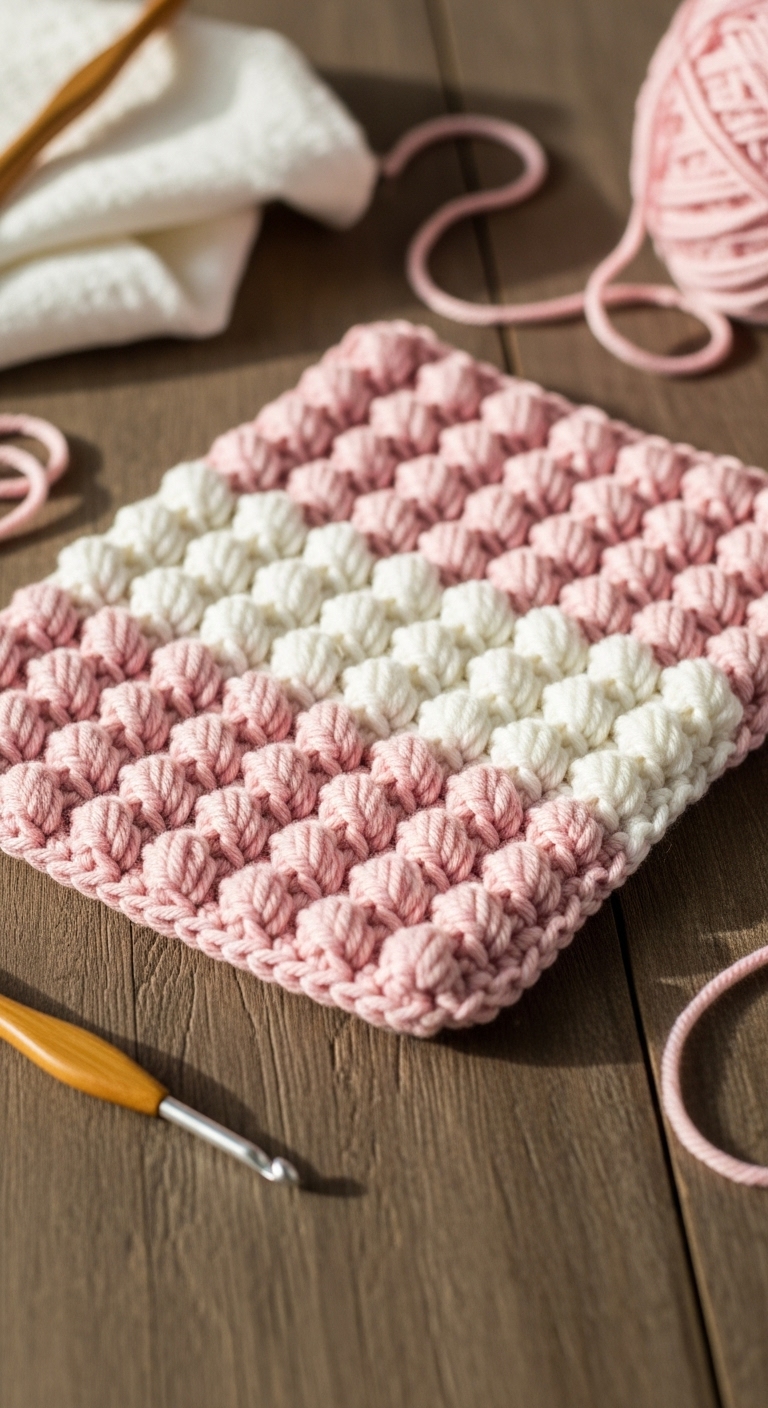
Welcome to the delightful world of crochet! In this tutorial, we will create a stunning and reversible crochet strawberry stitch pattern that can be used as a decorative piece or incorporated into various projects, such as blankets, bags, or even clothing. This pattern will measure approximately 12 inches by 12 inches when completed, making it a perfect size for many applications.
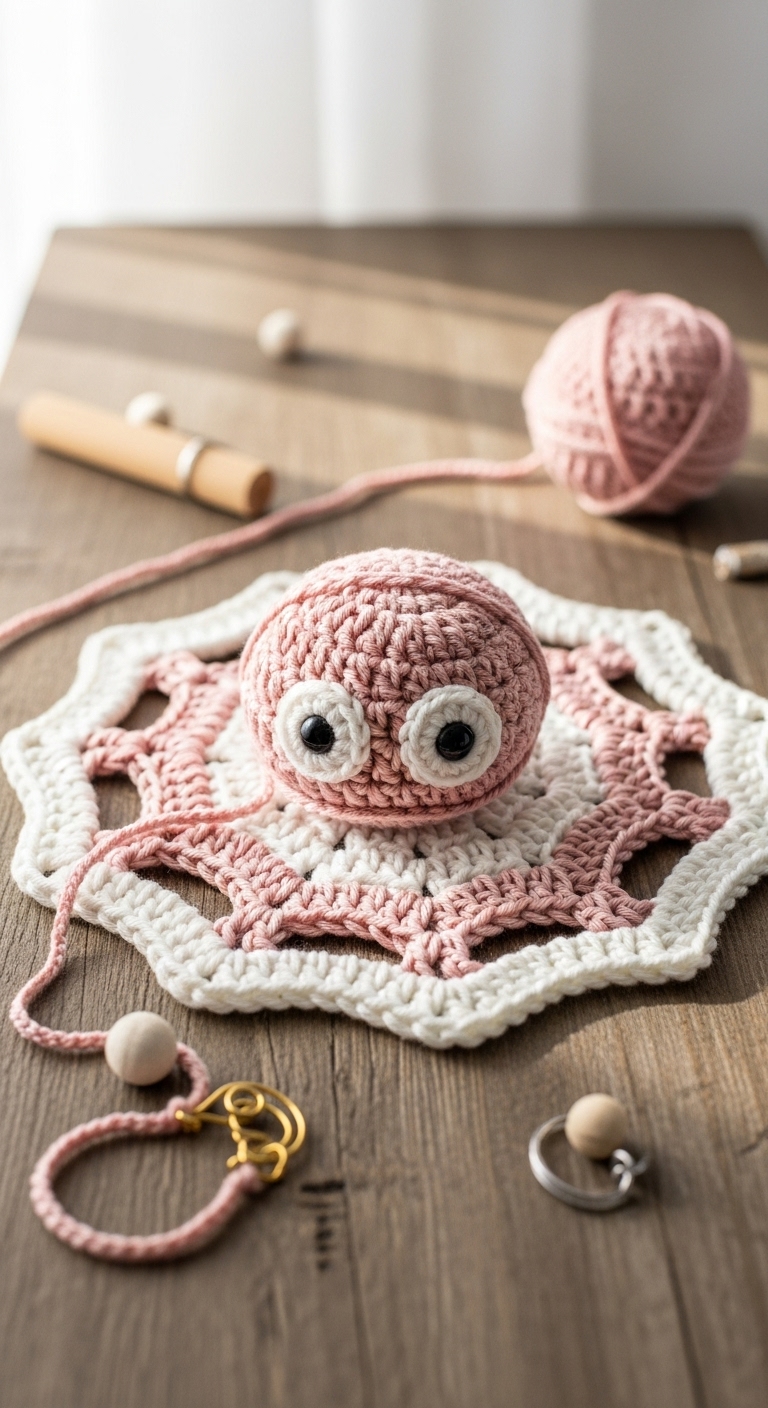
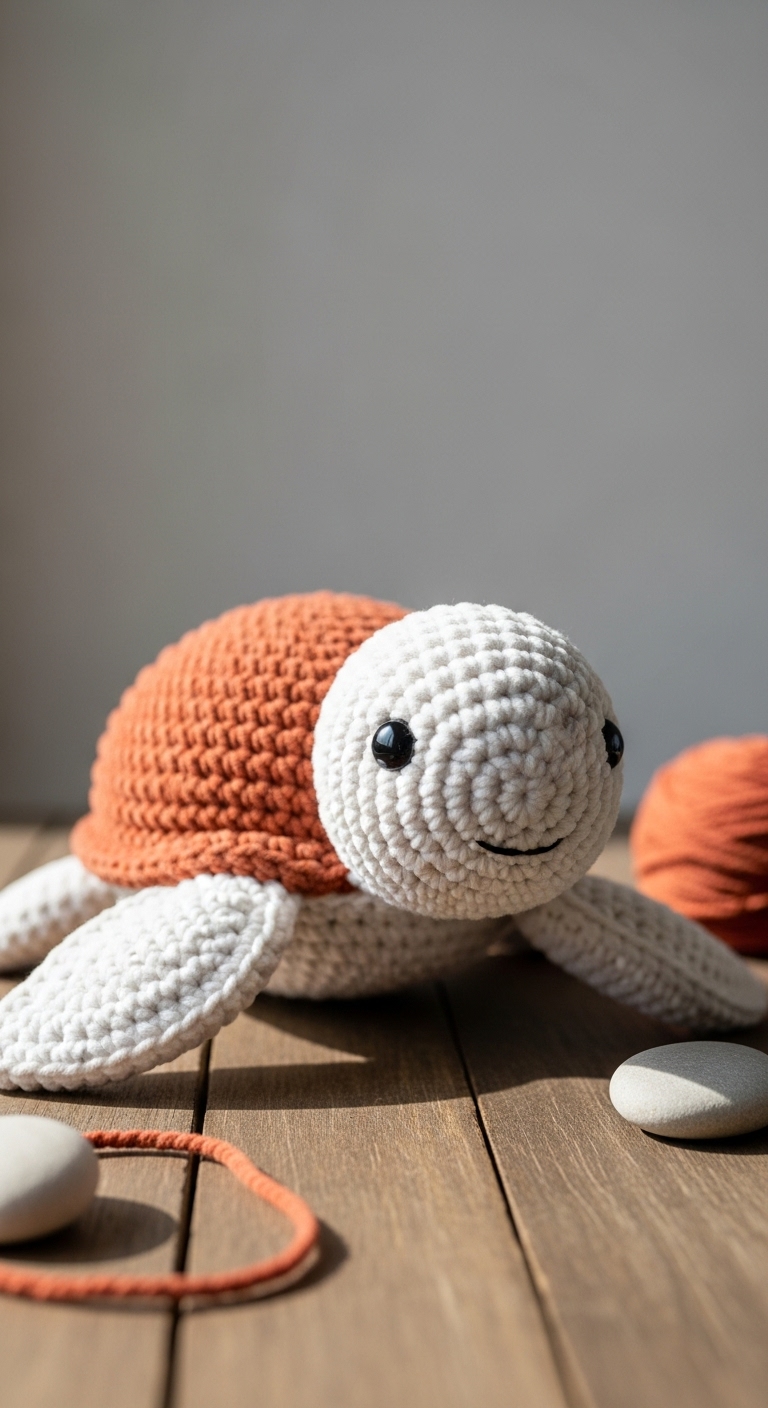
For this project, you’ll need worsted weight yarn in a lovely color palette of soft pink, creamy beige, and rich green. These adult-friendly colors complement each other beautifully, evoking the freshness of strawberries without being overly childlike. The reversible nature of the stitch adds an element of surprise and versatility, allowing your creation to shine from any angle. This project is not only quick to work up but also immensely satisfying, making it ideal for both beginner and intermediate crocheters. Plus, with the holidays coming up, it’s a fantastic gift idea for friends and family who appreciate handmade treasures!
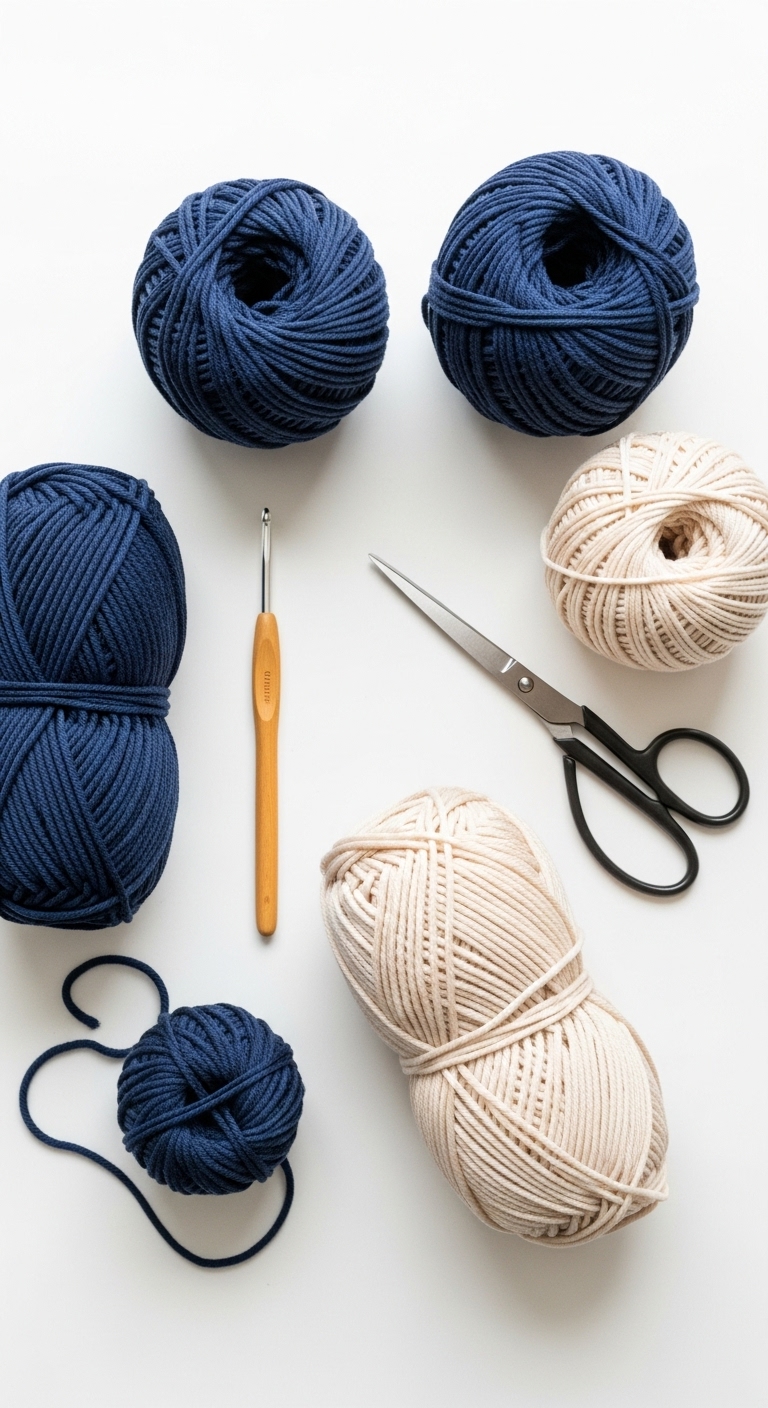
3. Materials Needed
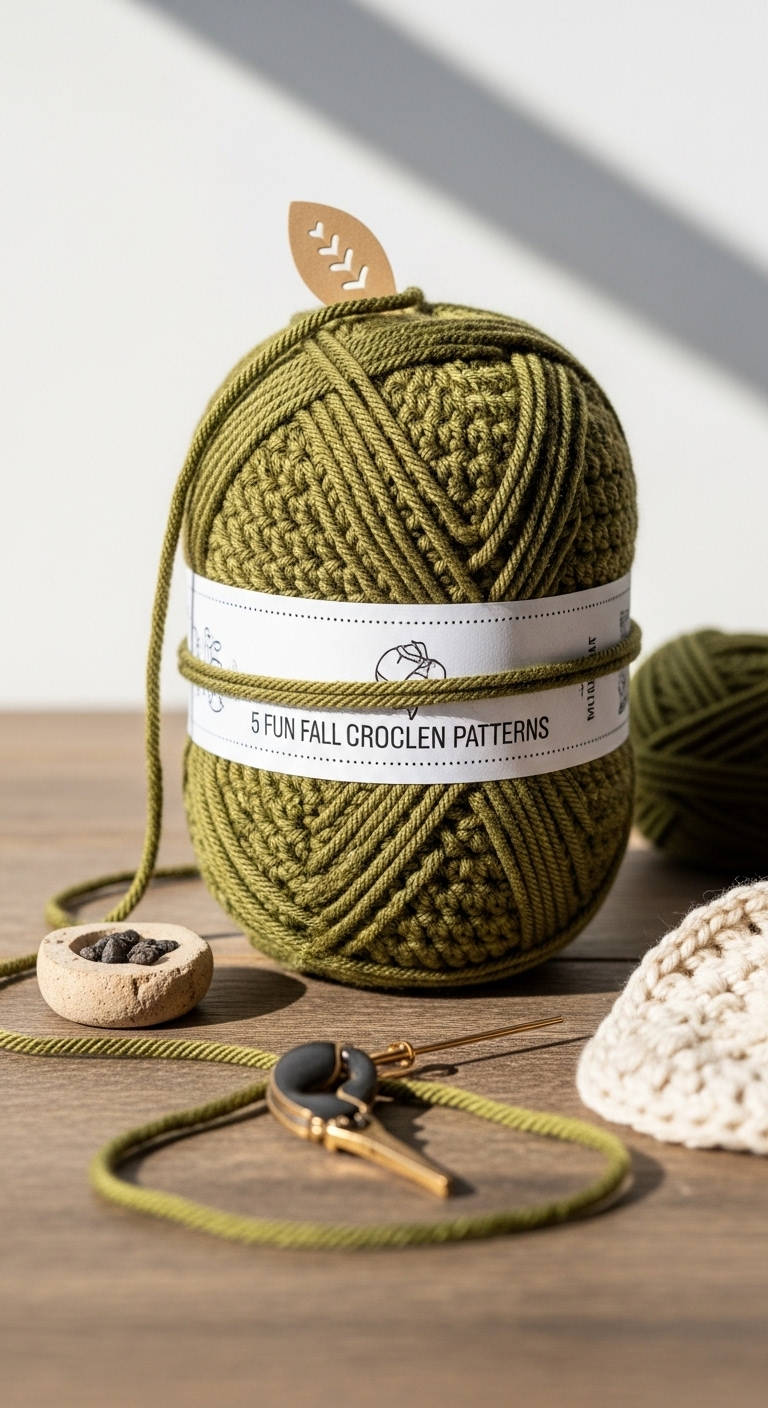
– Yarn: Worsted weight yarn in soft pink (approx. 200 yards), creamy beige (approx. 100 yards), and rich green (approx. 50 yards)
– Hook: 3.5mm or 4.0mm crochet hook
– Eyes: Safety eyes (12mm) OR black embroidery thread for detailing
– Stuffing: Polyester fiberfill stuffing (if making a plush item)
– Needle: Tapestry needle for sewing in ends
– Marker: Stitch marker for tracking rounds
– Optional extras: Pipe cleaners (for added stability in plushies), buttons (for embellishment)
4. Designer Notes / Tips
When working the strawberry stitch, don’t worry if your tension varies a bit—this stitch is forgiving and beautiful even with minor differences in tightness! You will be creating a textured fabric, and using a slightly looser gauge can enhance the plushiness of your project.
If you’re using stuffing, aim for a light density to maintain the structure without making it too firm. When assembling your pieces, take your time to secure them well; it’s worth the extra effort for a polished finish. For yarn substitutions, consider using cotton yarn for a more durable and washable option, especially for accessories that may see frequent use.
Keep an eye on your gauge; using the recommended hook size will help achieve the desired dimensions and ensure that your stitches look even. If making this for children, consider using embroidered features instead of safety eyes for added safety.
5. Pattern Instructions
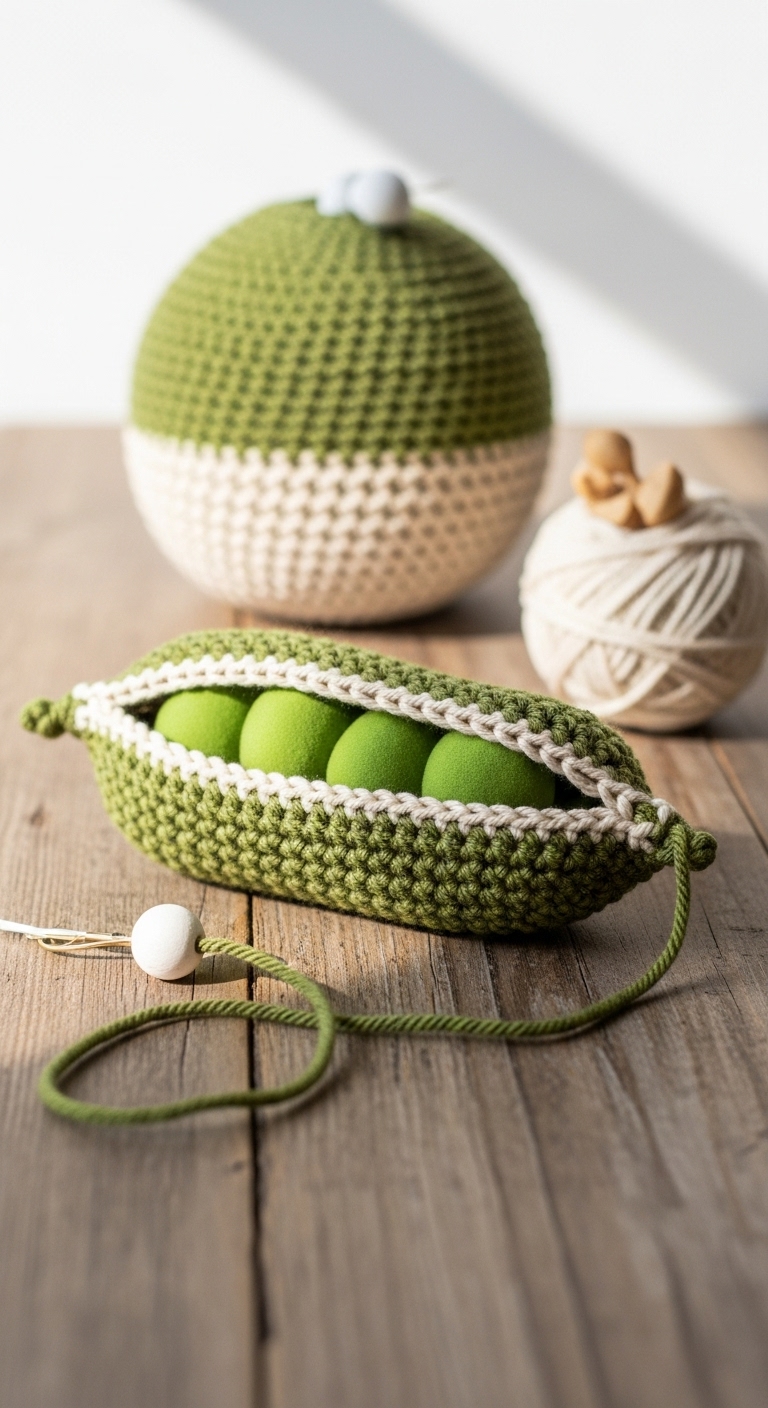
For Plushies:
– Head:
– Body:
– Arms (Make 2):
– Ears (Make 2):
– Assembly:
Attach the head to the body securely. Position safety eyes between rounds 5 and 6 of the head. Sew arms to the sides of the body and attach ears to the top.
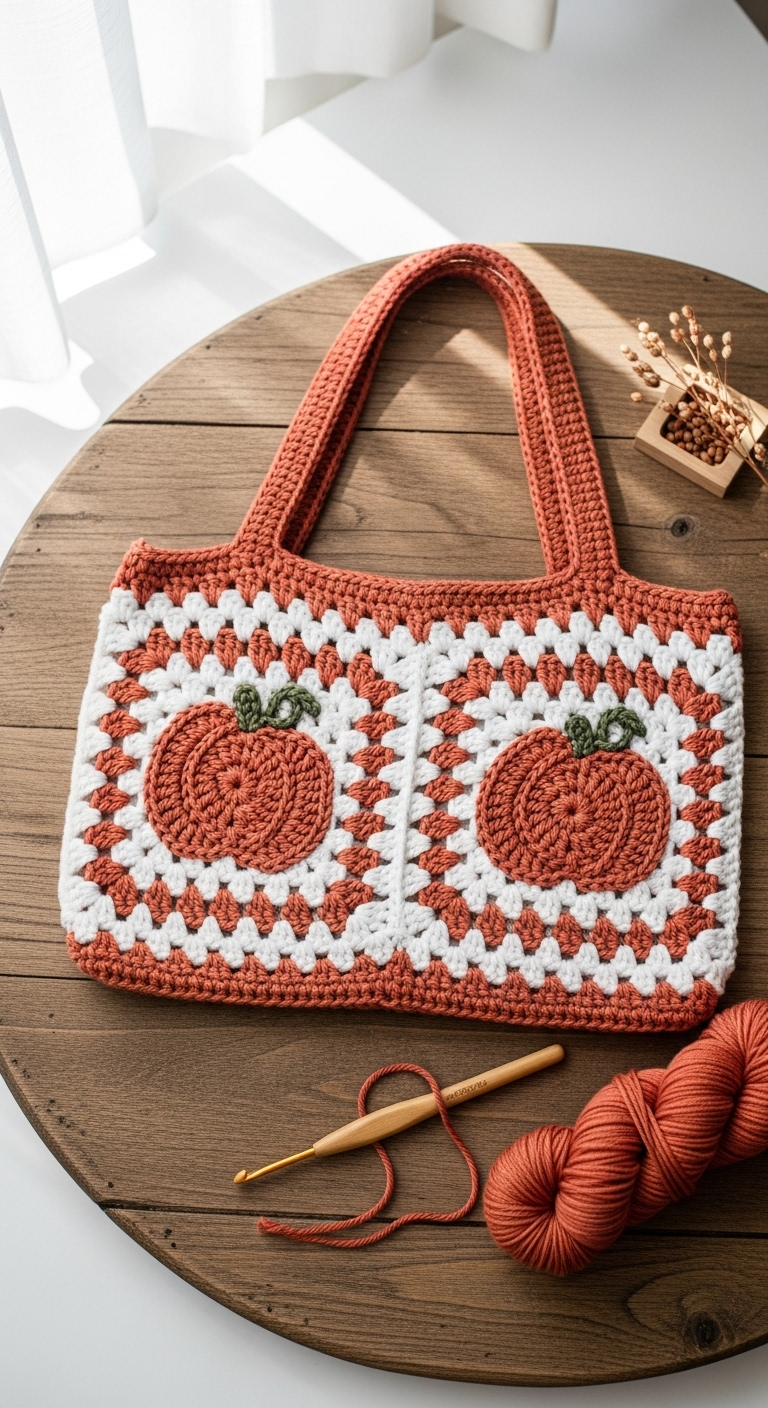
For Accessories:
– Main Panel:
– Straps/Handles:
Ch 100 for a longer strap, or adjust length as desired. Sc in each ch for added durability.
– Closure:
Attach a button or snap to one end of the strap and create a buttonhole on the opposite side.
– Finishing:
Weave in all loose ends and block the piece to smooth out any uneven stitches.
6. Closing & Social Engagement
Congratulations on completing your reversible crochet strawberry stitch project! I’d love to see your version! Leave a comment below sharing your experience or any tips you discovered along the way. What color combination will you try next? Don’t forget to share your finished item on social media and tag me; I can’t wait to see your creations!