No Sew Crochet Turtle Amigurumi Plush

2. Introduction
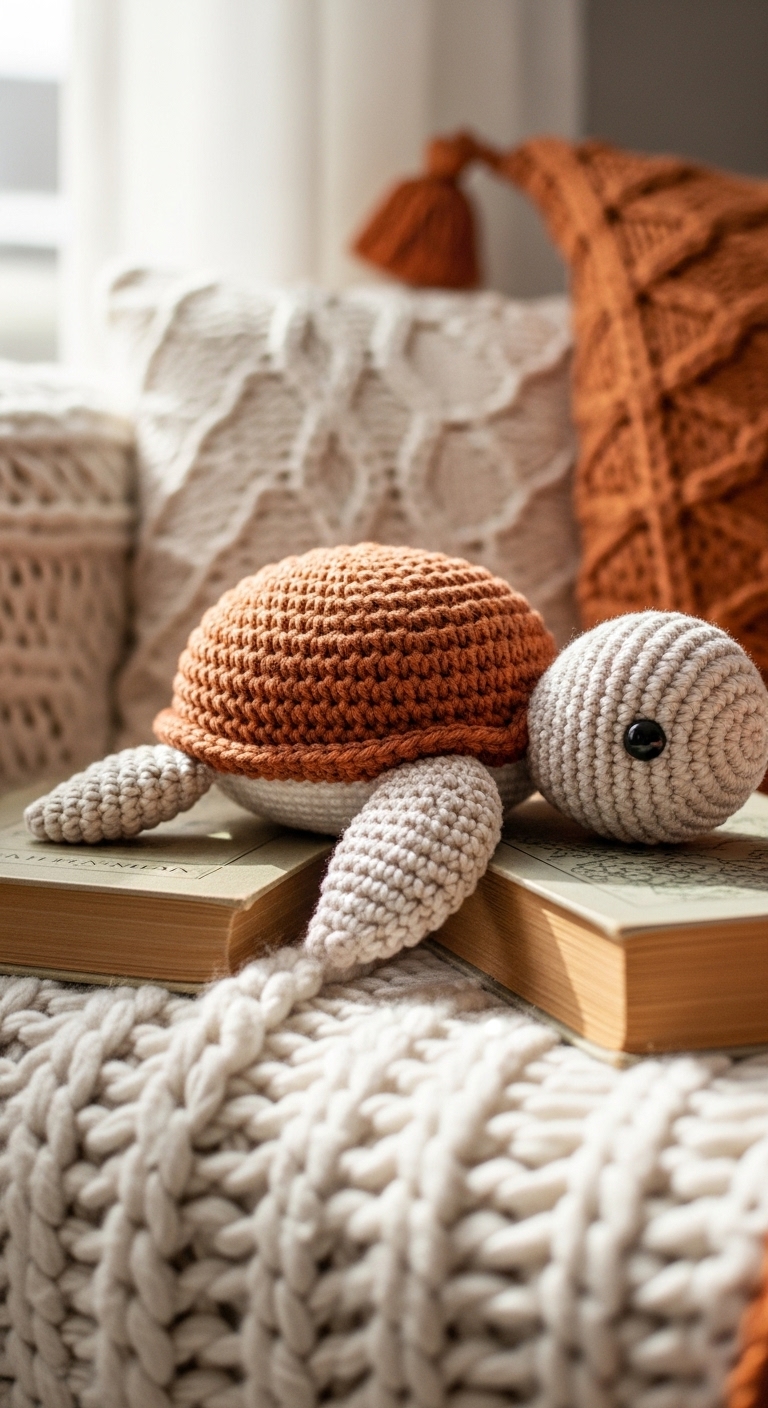
Welcome to the delightful world of amigurumi with this No Sew Crochet Turtle Plush pattern! This charming little turtle measures approximately 8 inches in length and 5 inches in height, making it the perfect cuddly companion for children and adults alike. Crafted using soft, durable yarn, this plushie is designed to provide hours of joy and comfort.
For this project, we’re using a soft worsted weight yarn in complementary colors that appeal to adult sensibilities, such as muted teal, sandy beige, and a deep forest green for the shell. The combination creates a stylish and modern look that is sure to brighten any space. This project is not only quick to crochet but also a fantastic introduction to the world of amigurumi. It’s perfect for beginners looking to expand their skills and create something special.
The No Sew Crochet Turtle is a wonderful gift idea for birthdays, baby showers, or as a thoughtful gesture for a friend. Plus, it has that unique charm that can make it a delightful seasonal decoration on a nursery shelf or in a cozy living room. So, grab your hooks, and let’s dive into this therapeutic and satisfying crochet adventure!
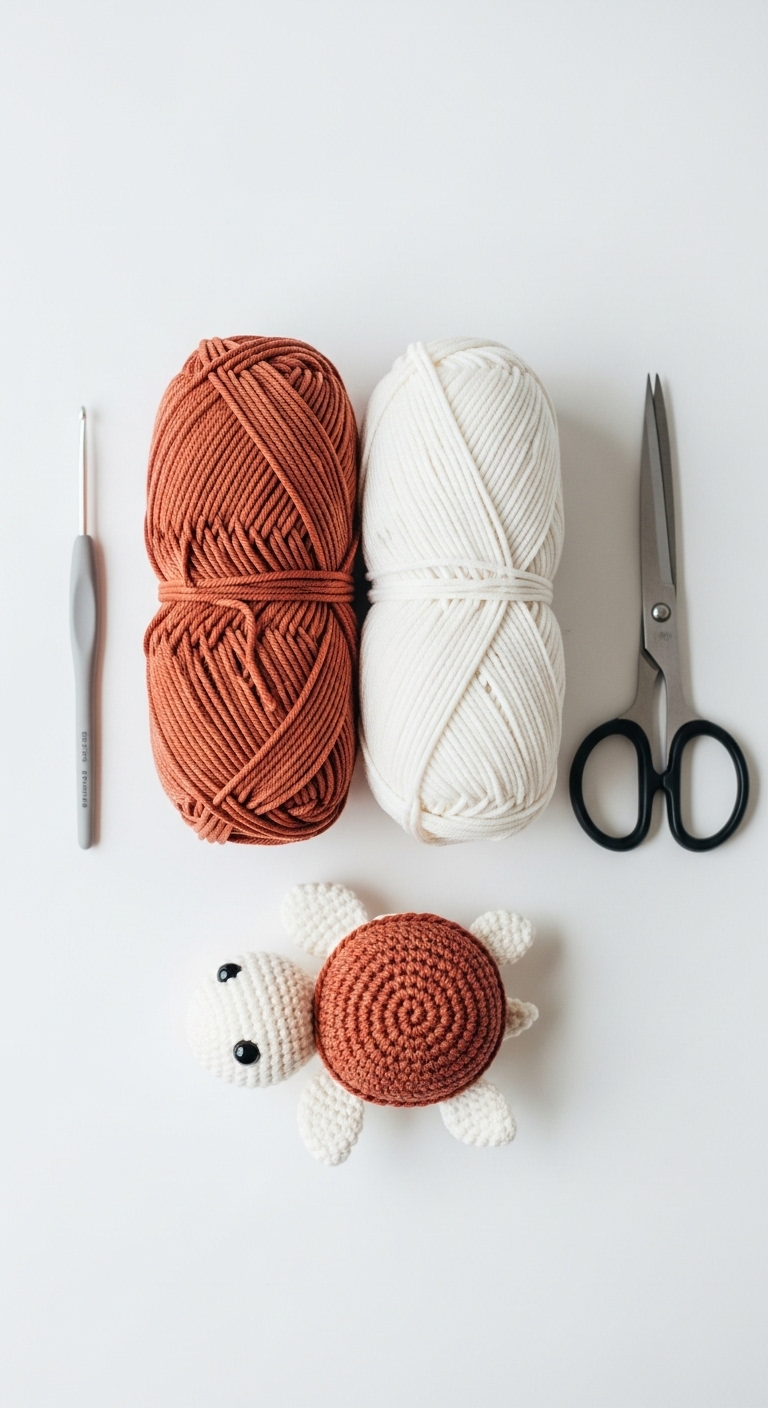
3. Materials Needed
– Yarn: Worsted weight yarn in muted teal (approx. 150 yards), sandy beige (approx. 50 yards), and deep forest green (approx. 50 yards)
– Hook: 3.5mm or 4.0mm crochet hook
– Eyes: 12mm safety eyes
– Stuffing: Polyester fiberfill stuffing
– Needle: Tapestry needle for weaving in ends
– Marker: Stitch marker
– Optional extras: N/A
4. Designer Notes / Tips
Creating a no sew amigurumi plushie is all about mastering the right techniques! For this turtle, ensure that your stitches are not too tight, as this will make it easier to shape and stuff the plushie. A relaxed tension will allow for a more comfortable stuffing process, leading to a delightful squishiness.
When stuffing your turtle, aim for a medium density; too firm, and it loses its cuddly charm, but too light, and it may not hold its shape. As you work, remember to place your safety eyes before finishing the head—this way, you’ll avoid any tricky placements later!
If you’d like to use different yarn, consider acrylic or cotton blends that maintain their structure well. For gauge, aiming for a tight fabric will ensure that the stuffing doesn’t peek through, but it’s always good to check your stitches by using stitch markers to help keep track of your rounds.
5. Pattern Instructions
For Plushies:
Head
Stuff the head firmly before closing. Add safety eyes between Rounds 6 and 7, spaced 5 sts apart.
Body
Stuff the body lightly before closing.
Arms
Make 4 arms. Stuff lightly, leaving the last round open for attachment.
Legs
Shell
Stuff lightly and shape the shell to fit the body.
Assembly
1. Attach arms and legs to the body using the tapestry needle.
2. Position the head on top of the body and sew or secure it tightly.
3. Finally, attach the shell to the back of the turtle, ensuring it fits snugly and securely.
6. Closing & Social Engagement
I hope you enjoy creating your very own No Sew Crochet Turtle Amigurumi Plush! Each stitch you make adds warmth and personality to your handmade treasure. I’d love to see your version! Leave a comment below sharing which colors you chose or any personal touches you added. What color combination will you try? Share your finished turtle on social media, and let’s inspire each other along our crochet journeys!