Quick Crochet Patterns for Beginners
2. Introduction
Welcome to the world of crochet! In this article, we will explore a delightful collection of quick crochet patterns perfect for beginners. Each project is designed to be approachable and enjoyable, allowing you to create charming items in no time. Whether you’re looking to whip up a cozy accessory or a cute plushie, these patterns are perfect for enhancing your crochet skills while having fun.
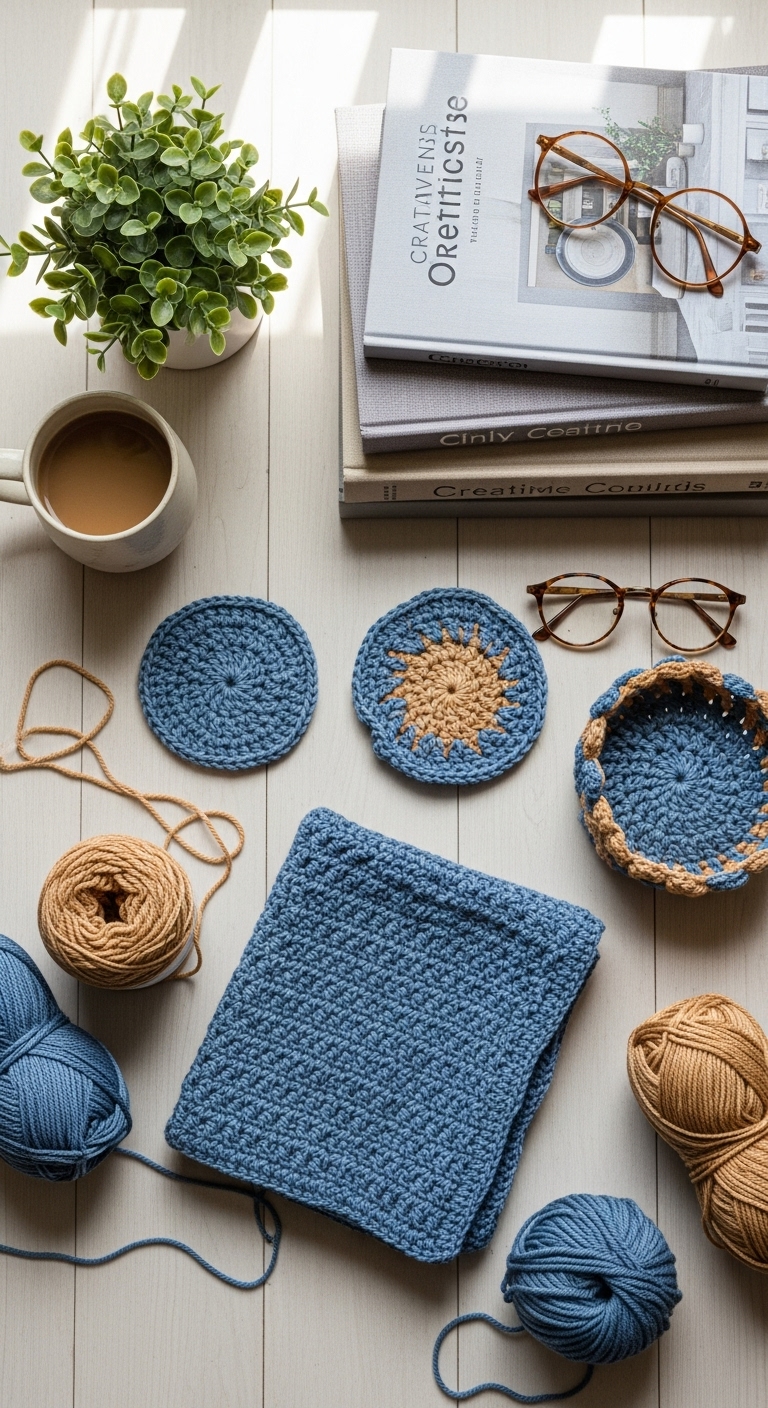
The projects will typically range from 6 to 12 inches, making them ideal for gifts or personal use. We’ll be using soft, medium-weight yarn in complementary adult-friendly colors such as a rich navy blue, a serene gray, and a vibrant mustard yellow. These colors not only look sophisticated together but also bring a modern twist to your crochet creations. The fun in these patterns lies in their simplicity and the satisfaction of finishing a project in a single sitting!
Designed with beginners in mind, these patterns will walk you through each step with ease. They also make fantastic gifts for friends and family, perfect for any occasion or season. Let’s dive into the materials you’ll need and get started on your crochet journey!
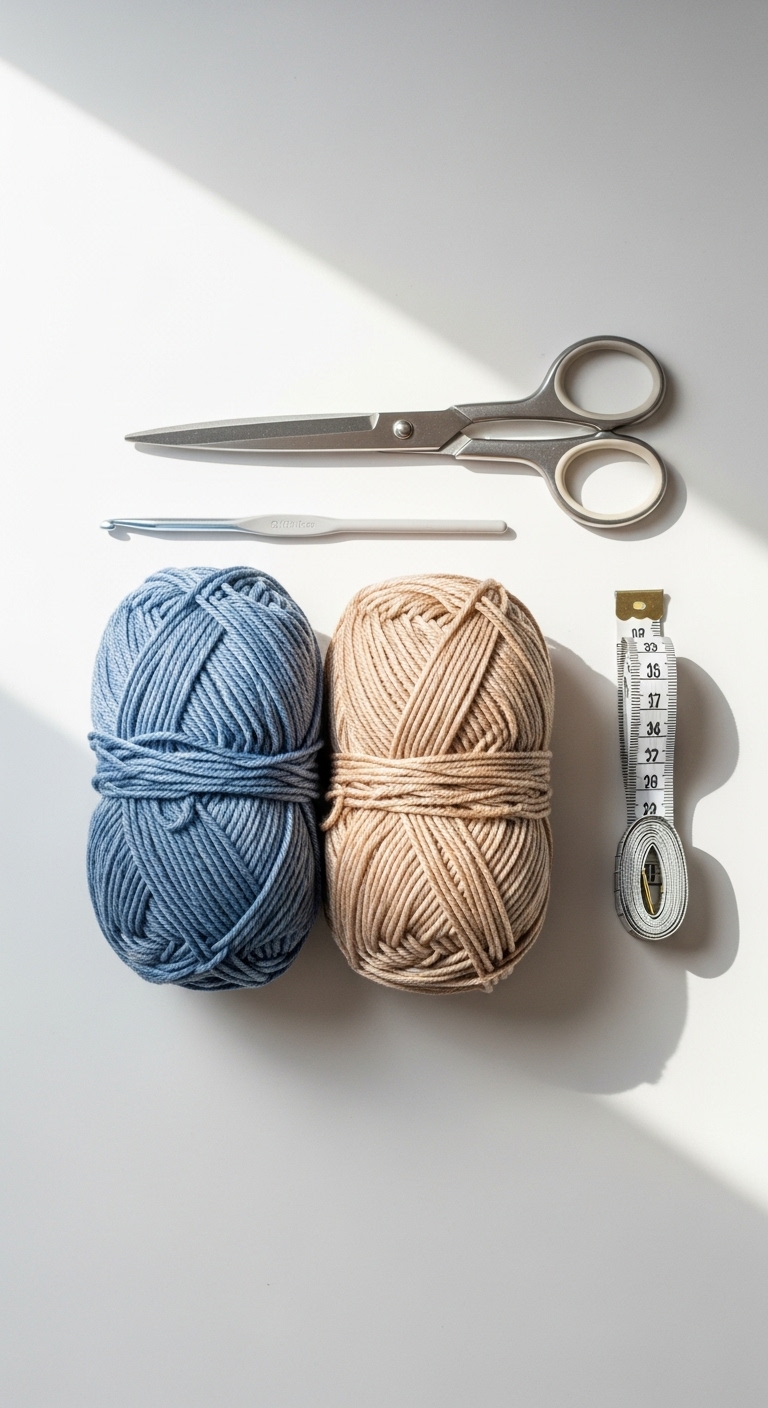
3. Materials Needed
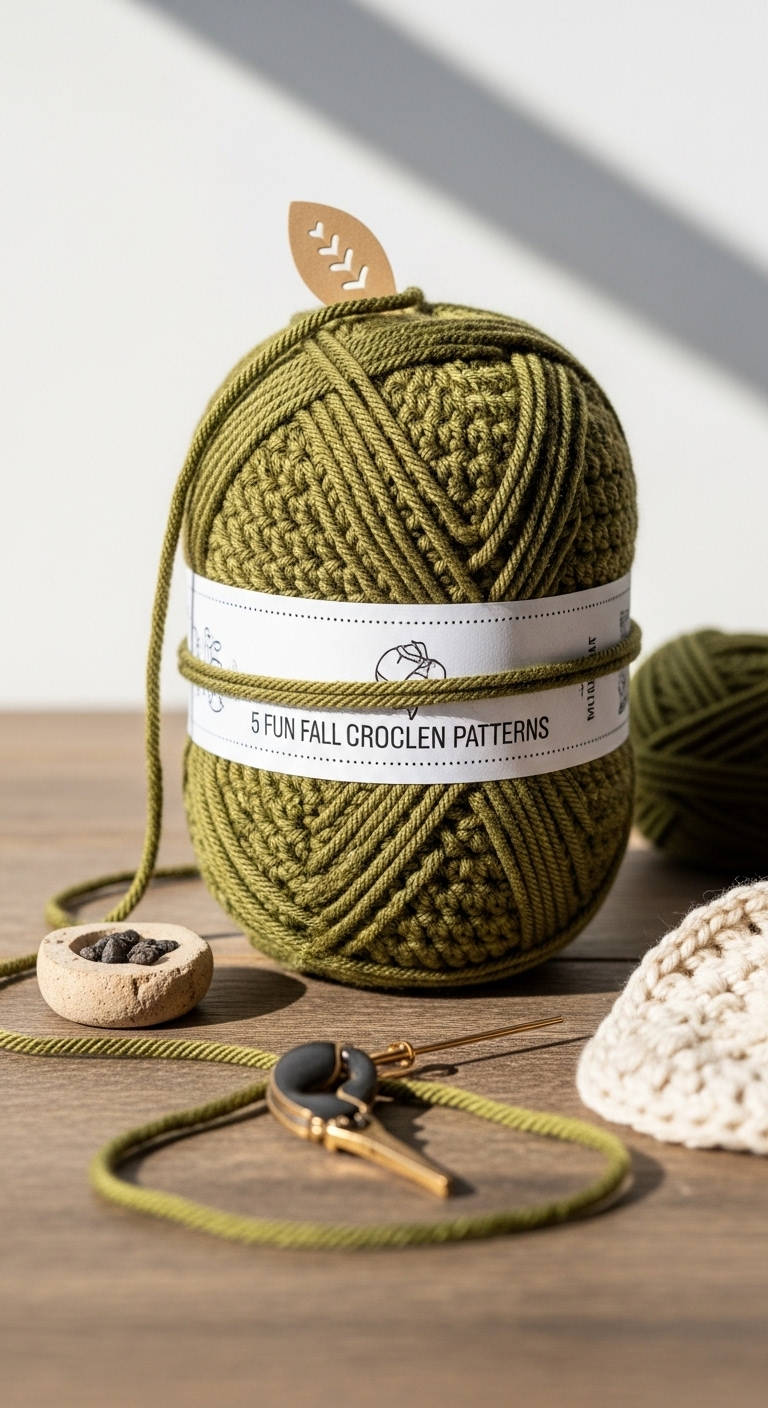
– Yarn: Worsted weight yarn in navy blue, gray, and mustard yellow – approximately 150-200 yards total
– Hook: 3.5mm or 4.0mm crochet hook
– Eyes: Safety eyes (10mm) OR black embroidery thread
– Stuffing: Polyester fiberfill stuffing
– Needle: Tapestry needle for sewing
– Marker: Stitch marker
– Optional extras: Pipe cleaners (for added structure in plushies), buttons (for accessory embellishments)
4. Designer Notes / Tips
When working with these quick patterns, focus on your stitch tension to ensure a consistent finish. If you’re new to crochet, don’t hesitate to refer back to tutorials for foundational stitches like single crochet (sc) and increase (inc). For stuffing plushies, aim for a medium density—enough to provide shape but not so firm that it alters the form.
For assembly, take your time joining pieces to avoid any gaps. Using a stitch marker can help keep track of your rounds, especially in circular projects. If you prefer a different yarn, consider using a cotton blend for a lighter feel or a bulky yarn for faster results. Remember, gauge isn’t crucial for these projects, but a consistent tension will help your pieces look polished.
If you’re making items for children, ensure that everything is securely attached, particularly safety eyes. You can substitute these with embroidered features for a child-safe option.
5. Pattern Instructions
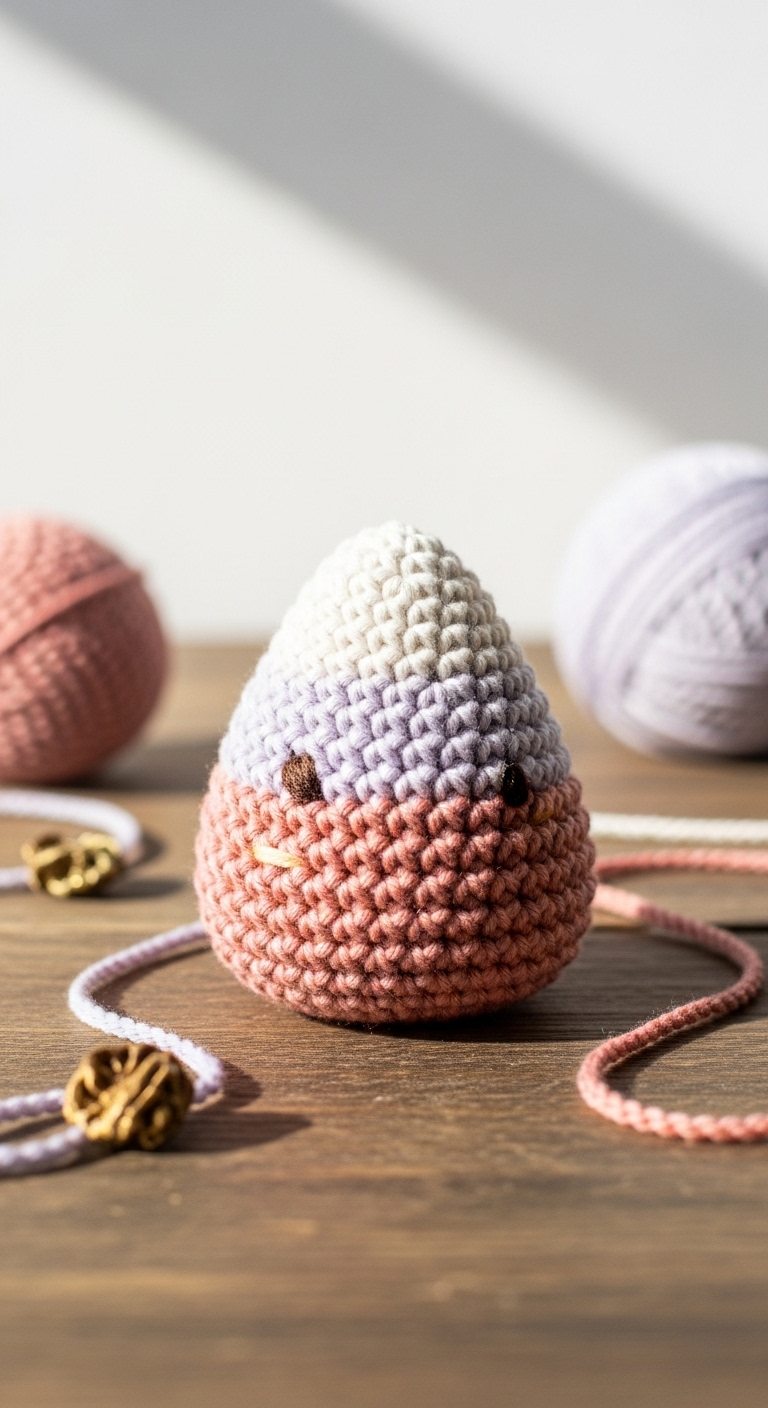
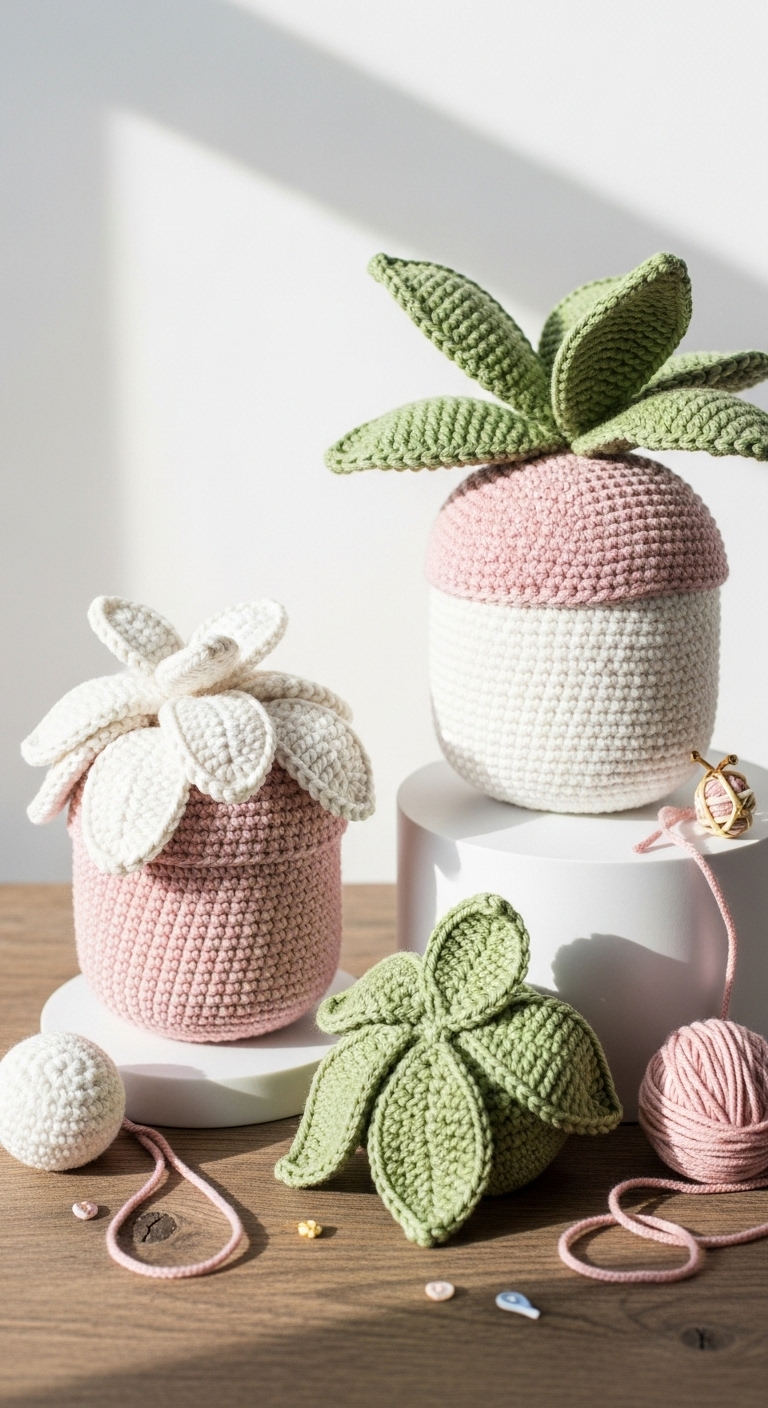
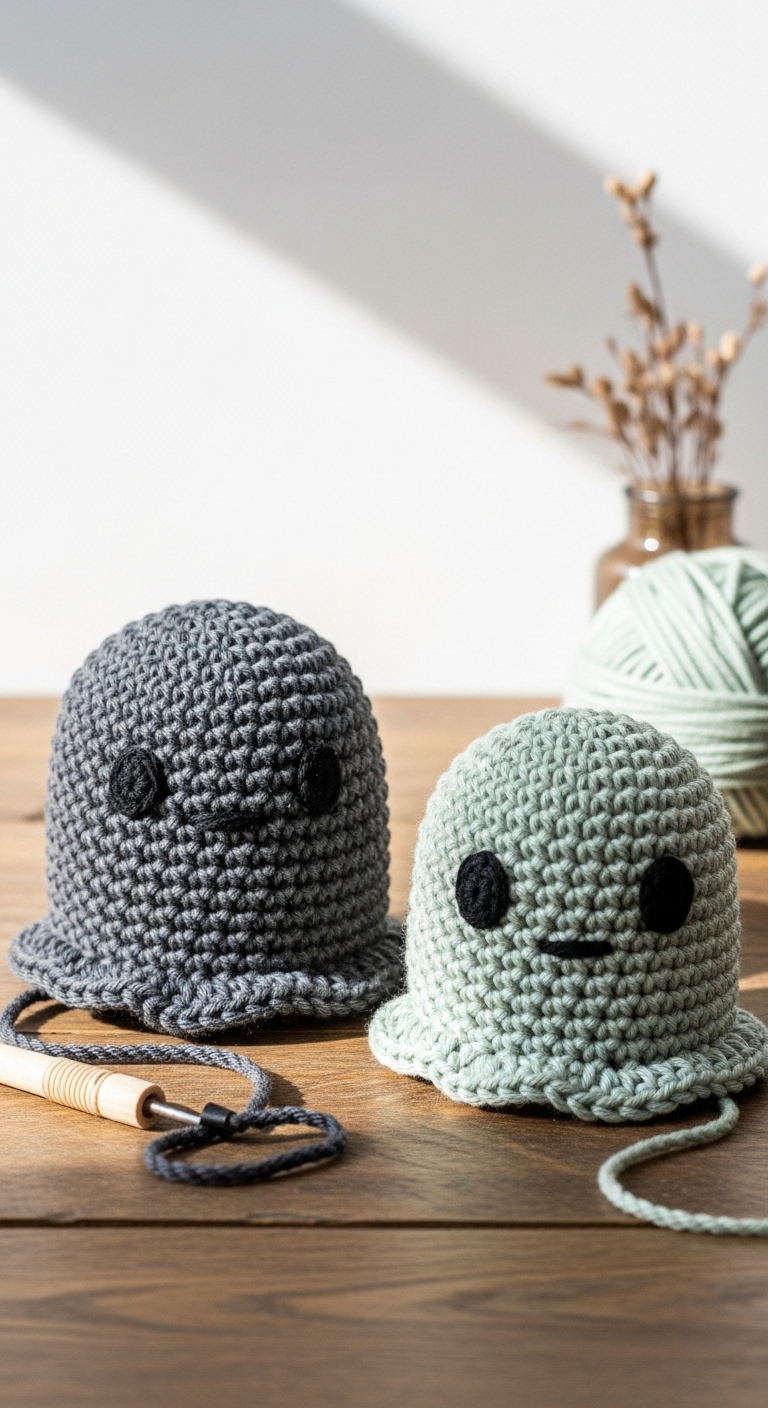
For Plushies:
Head:
*Stuff the head lightly before closing.*
Body:
*Leave open for stuffing, and fill lightly before closing.*
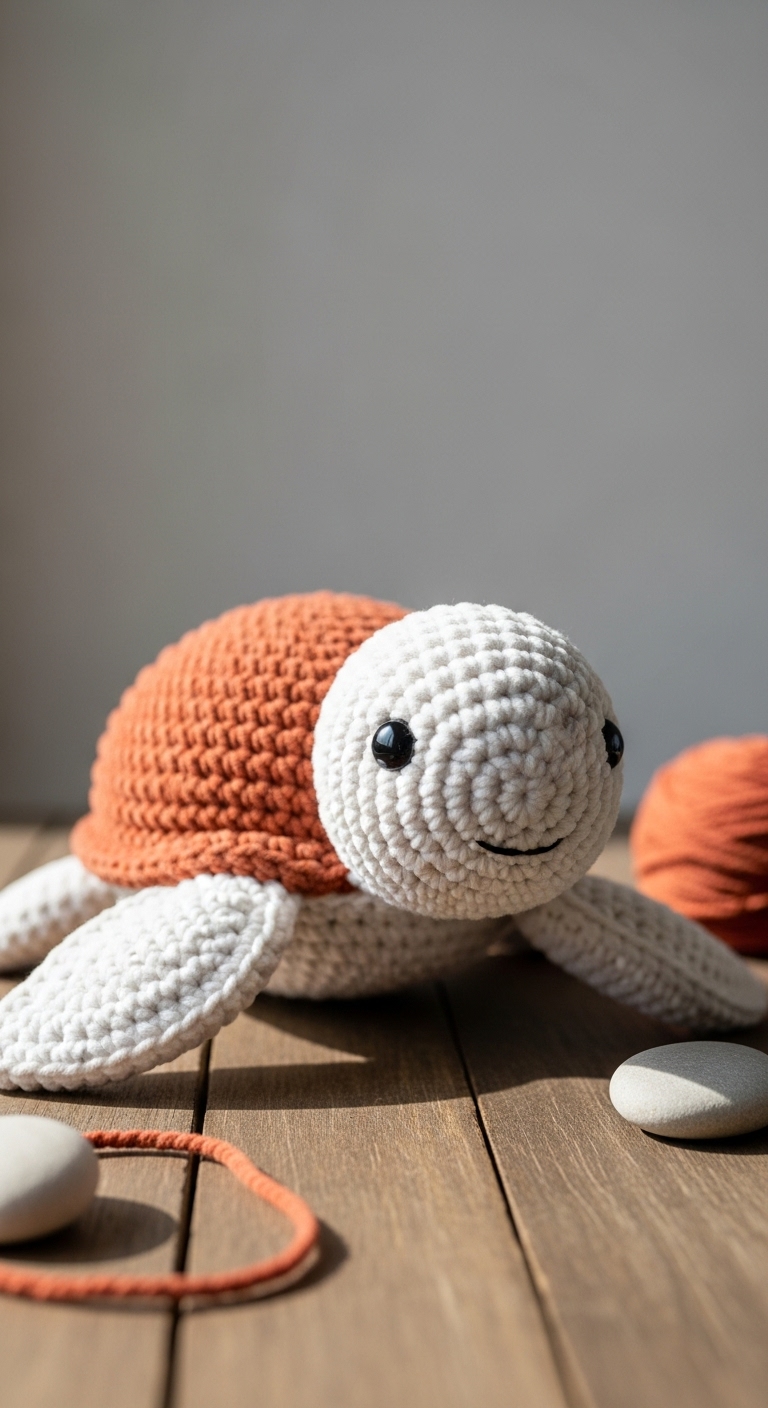
Arms/Legs (make 4):
*Stuff firmly and attach to the body securely.*
Ears/Tail (customize based on your plushie):
Assembly:
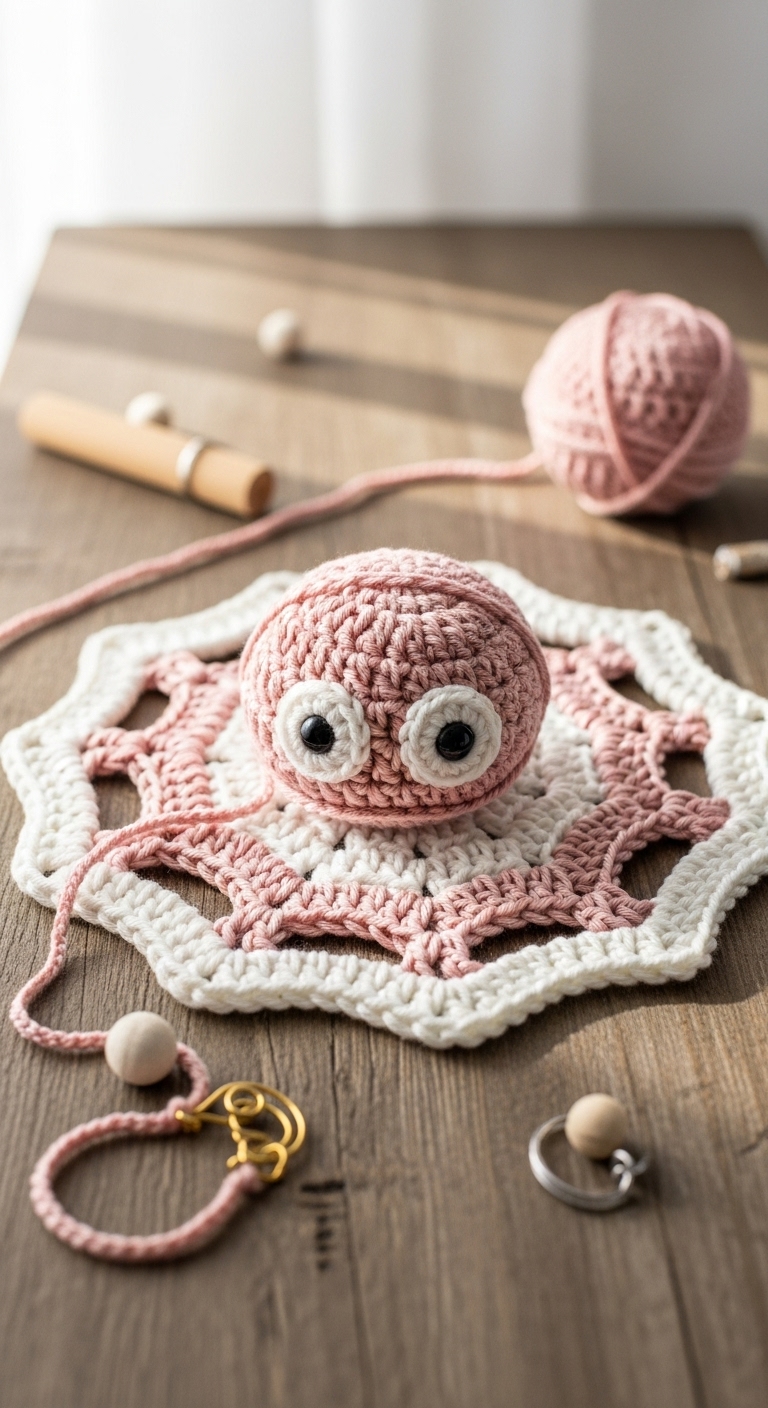
– Attach safety eyes on the head between Rounds 8 and 9.
– Position arms and legs around the body and sew in place.
– Attach ears to the top and securely sew the tail at the back.
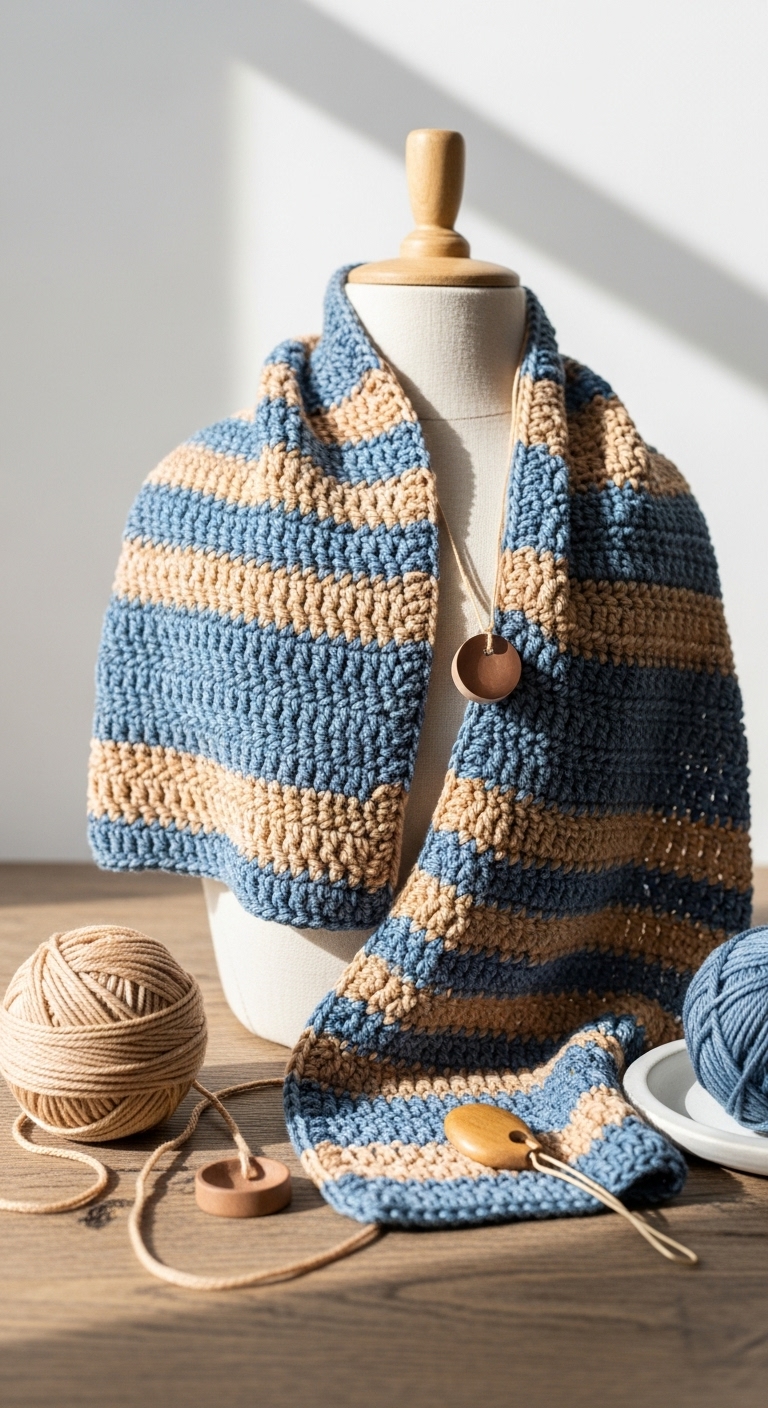
For Accessories:
Main Panel (for a simple pouch):
*Add stripes with color changes for a modern look!*
Straps/Handles (optional):
*Make as long as desired for a comfortable fit.*
Closure (if desired):
– You can add a button by sewing it to one side, using a buttonhole stitch on the opposite side.
Finishing:
– Weave in all loose ends with your tapestry needle.
– Block your accessory lightly to shape it nicely.
6. Closing & Social Engagement
I hope you enjoyed this journey into quick crochet patterns for beginners! Each project is a stepping stone to enhance your skills and creativity. Don’t worry if your first item isn’t perfect; the joy of crocheting lies in the process!
I’d love to see your version! Leave a comment below sharing your color combinations and experiences. What unique twist will you add to your projects? Share your finished creations on social media and let’s inspire each other in our crafting adventures!