Striped Pumpkins Crochet Pattern
2. Introduction
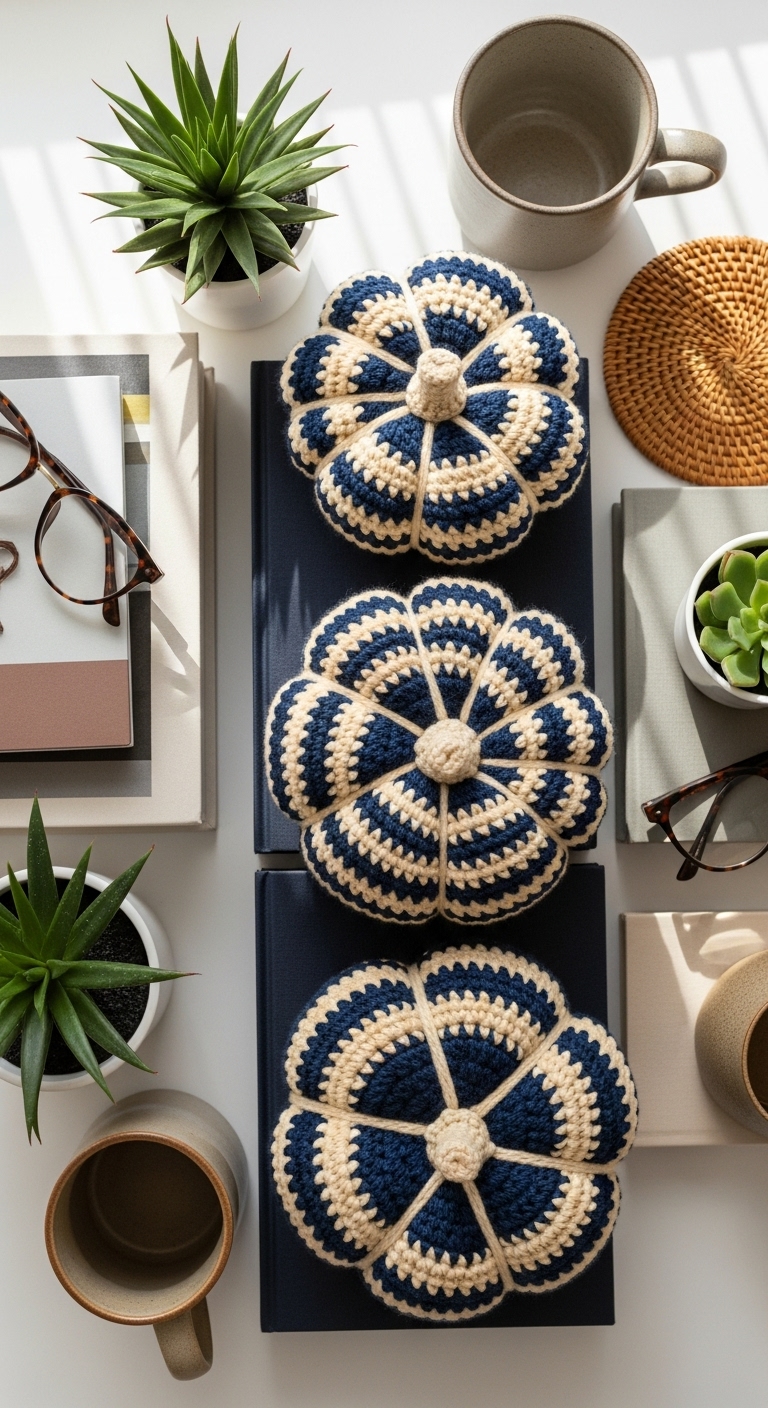
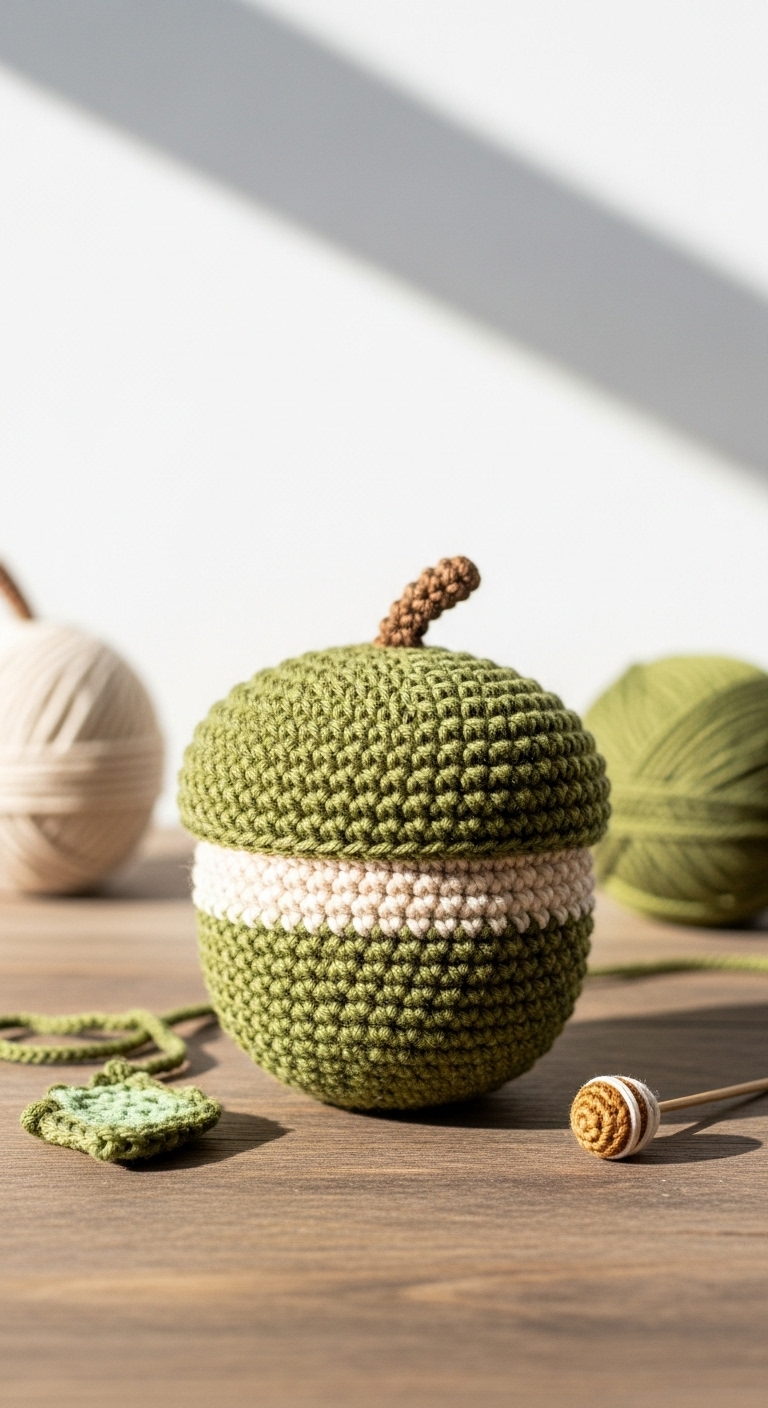
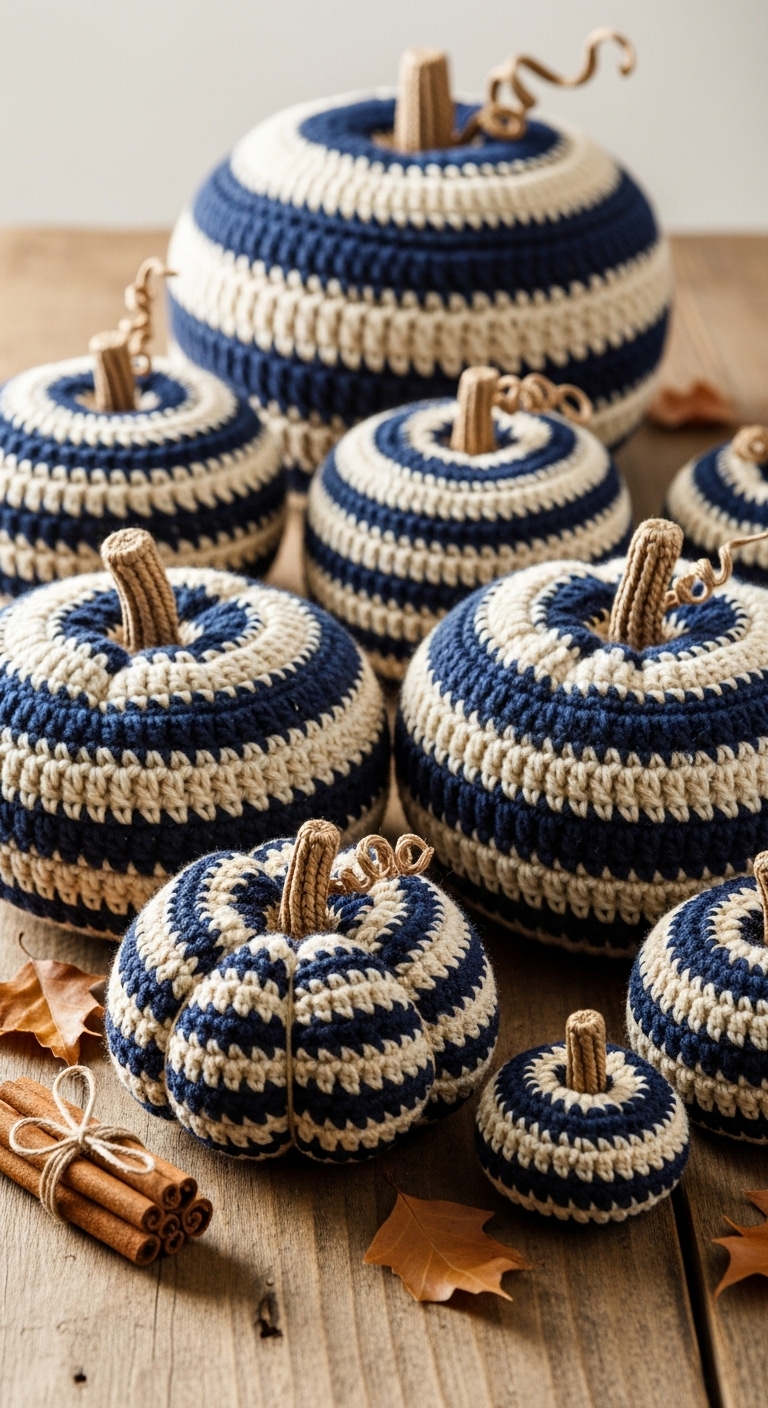
Welcome to the delightful world of crochet! In this article, we’ll be crafting charming Striped Pumpkins that will add a touch of whimsy to your home decor this fall. These plush pumpkins measure approximately 4-5 inches in diameter, making them the perfect size for displaying on your mantel, dining table, or as part of a seasonal centerpiece.
For this project, you will use soft, worsted weight yarn in three complementary adult-friendly colors: a deep pumpkin orange, a rich forest green, and a warm cream. These colors not only bring a modern twist to the classic pumpkin palette, but they also work beautifully together, creating an inviting and sophisticated autumnal aesthetic. This project is quick and easy, ideal for beginner crocheters wanting to build their skills while making something fun and seasonal. Plus, they make wonderful gifts for friends and family who love fall decor!
3. Materials Needed
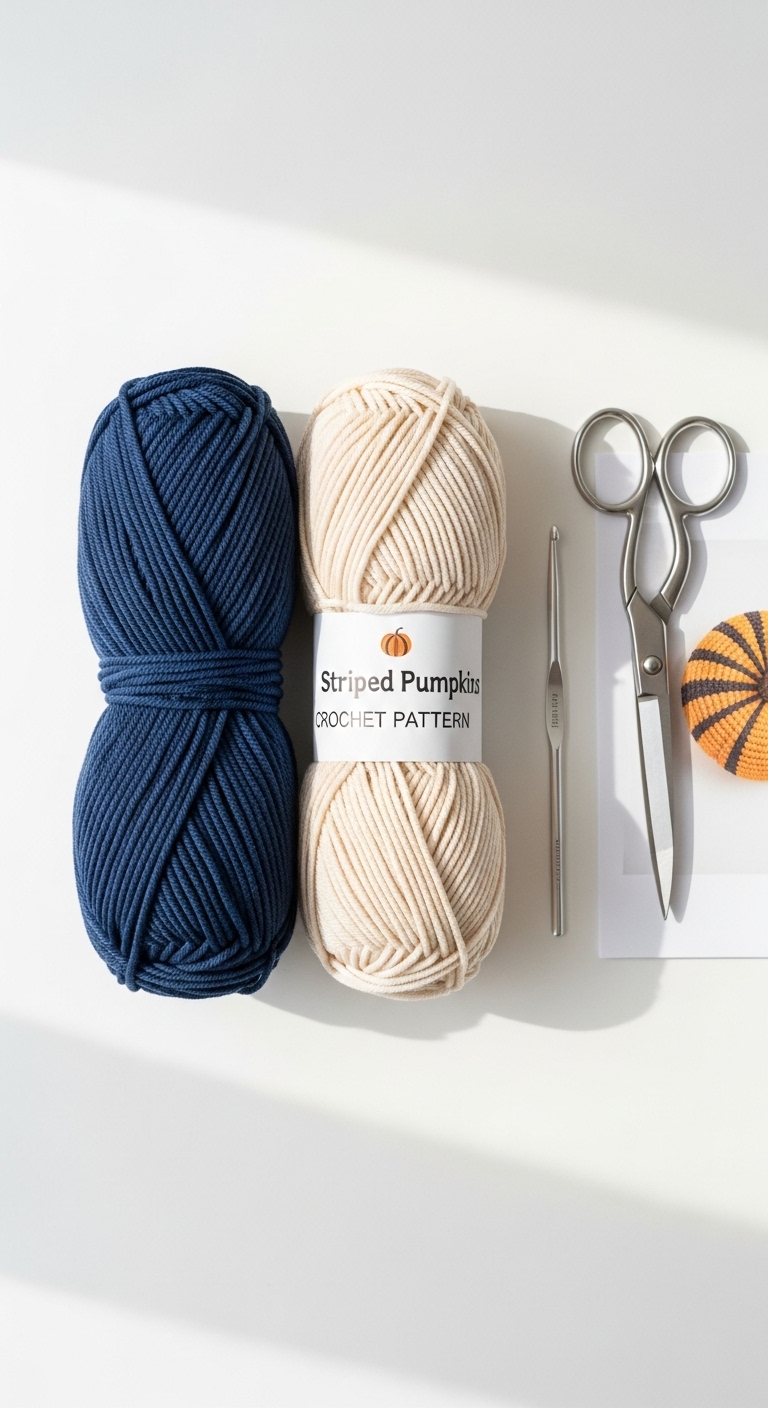
– Yarn: Worsted weight yarn in pumpkin orange (approx. 100 yards), forest green (approx. 20 yards), and warm cream (approx. 20 yards)
– Hook: 3.5mm or 4.0mm crochet hook
– Eyes: Safety eyes (12mm) or black embroidery thread for facial features
– Stuffing: Polyester fiberfill stuffing
– Needle: Tapestry needle for sewing
– Marker: Stitch marker
– Optional extras: Pipe cleaners for creating a stem, small buttons for embellishment
4. Designer Notes / Tips
When working on your Striped Pumpkins, you’ll be using basic stitches such as single crochet and increases, so don’t worry if you’re a beginner; you’ve got this! To achieve a lovely textured look, make sure to keep your tension consistent as you work through the rounds. The pumpkins should be stuffed lightly to maintain their shape without being overly firm – think of a cozy plush toy rather than a hard sphere.
As you assemble your pumpkins, pay attention to how you join the pieces. The color changes should be neat, and I recommend using a tapestry needle for sewing the opening closed to ensure a smooth finish. If you’re looking for yarn substitutions, any worsted weight cotton yarn will work beautifully, especially those with a bit of sheen for a more luxurious feel. Lastly, if you’re making this as a gift for children, consider using safety eyes or opting for stitched features for added safety.
5. Pattern Instructions
For Plushies:
Pumpkin Body
Stem
Assembly
– Attach the safety eyes to your pumpkin, placing them about halfway down the body for a whimsical look.
– Sew the stem securely at the top of the pumpkin using the long tail from the stem. If you are using pipe cleaners, you can insert it into the top of the pumpkin for added stability before securing it with stitches.
– Use your tapestry needle to weave in any loose ends and secure all parts.
6. Closing & Social Engagement
Now that you’ve created your very own Striped Pumpkins, I would love to see your version! Don’t hesitate to leave a comment below sharing your color combinations or any tips you discovered along the way. What color combination will you try next? And don’t forget to share your finished pumpkins on social media with fellow crochet lovers! Happy crocheting and enjoy the beautiful season ahead!