Timeless Drifter Earwarmer Crochet Pattern by Lullaby Lodge
2. Introduction
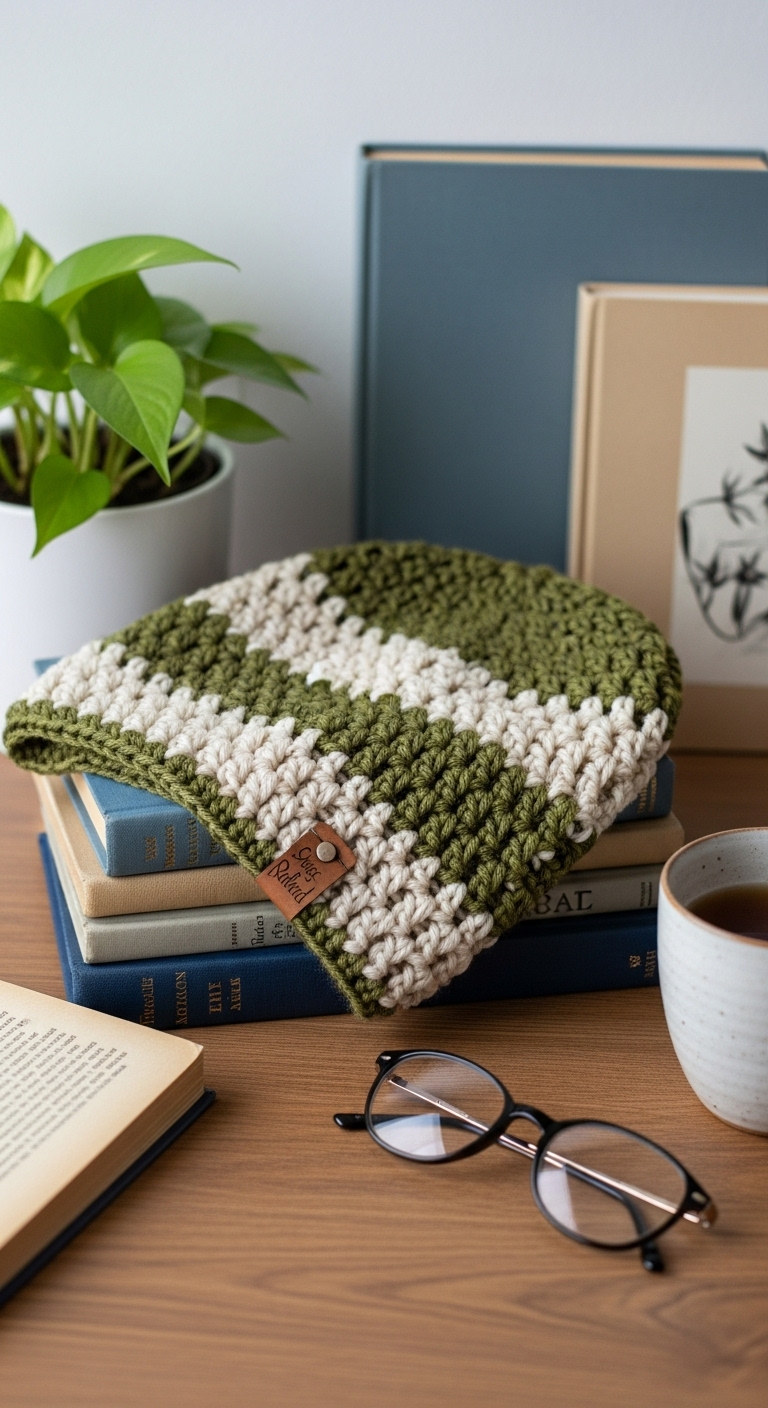
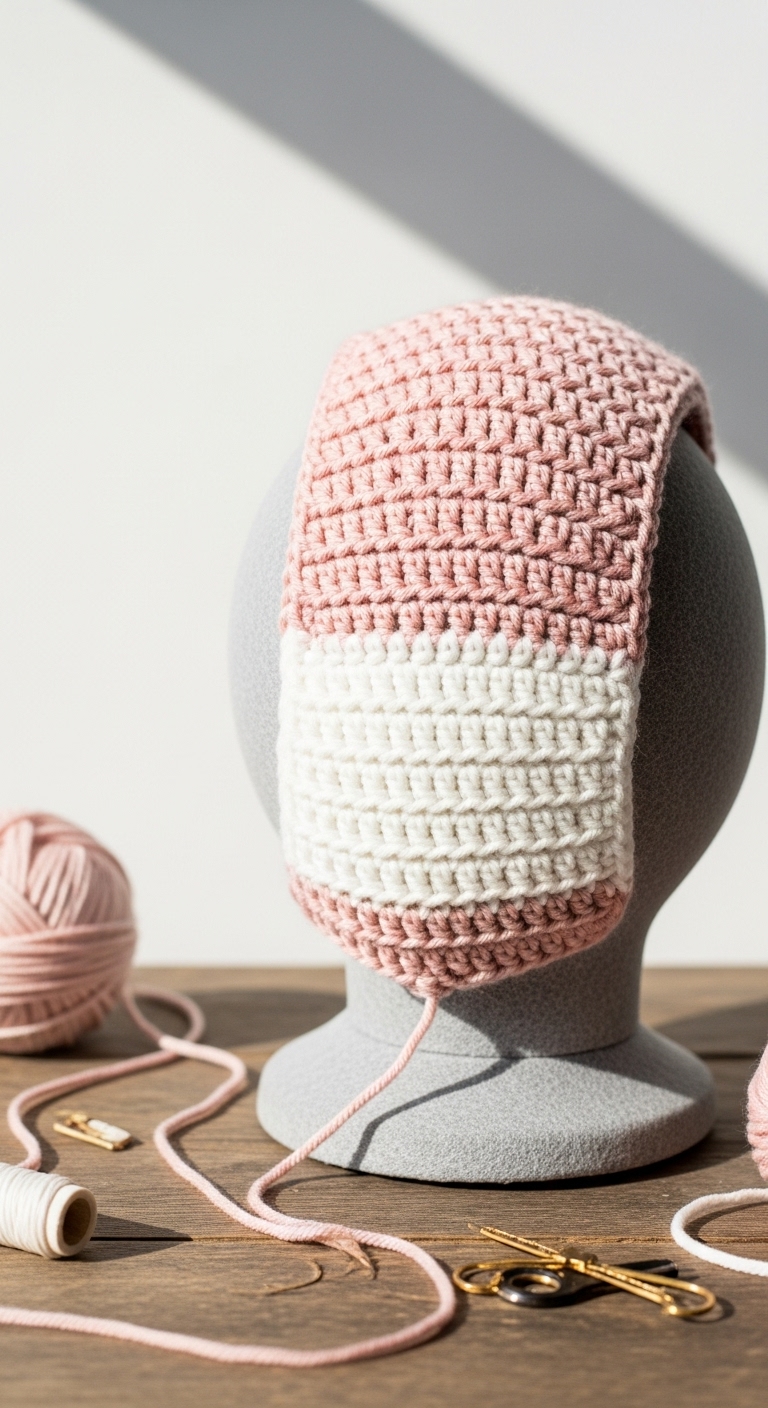
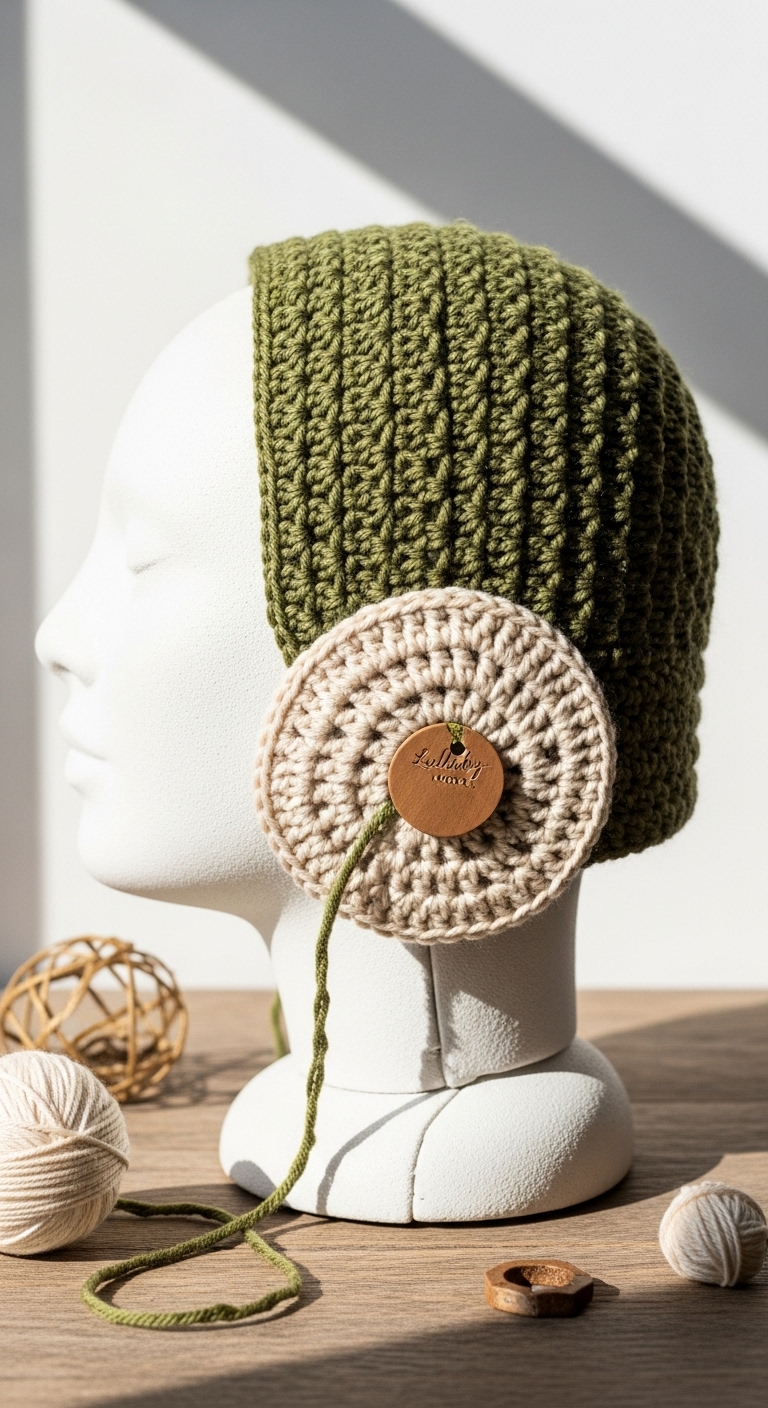
Welcome to the Timeless Drifter Earwarmer Crochet Pattern by Lullaby Lodge! This cozy accessory is designed to keep your ears warm during those brisk autumn walks or chilly winter outings. With a finished width of approximately 4 inches and an adjustable length to fit most adult heads comfortably, it’s the perfect combination of style and functionality.
For this lovely earwarmer, we recommend using a soft, worsted-weight yarn in complementary adult-friendly colors. Picture a rich deep navy, a warm ochre, and a soft cream — these hues blend beautifully to create a sophisticated look that’s perfect for any wardrobe. The Timeless Drifter Earwarmer is not only a quick project, ideal for those last-minute gifts, but it also offers a delightful opportunity to practice your crochet skills. It’s beginner-friendly, making it accessible for crafters just starting their journey, while still offering enough texture to keep it interesting.
This pattern makes a fantastic gift for friends and family during the colder months and is a lovely seasonal accessory for yourself. Whether you’re staying cozy at home or heading out on an adventure, the Timeless Drifter Earwarmer is sure to become a staple in your collection.
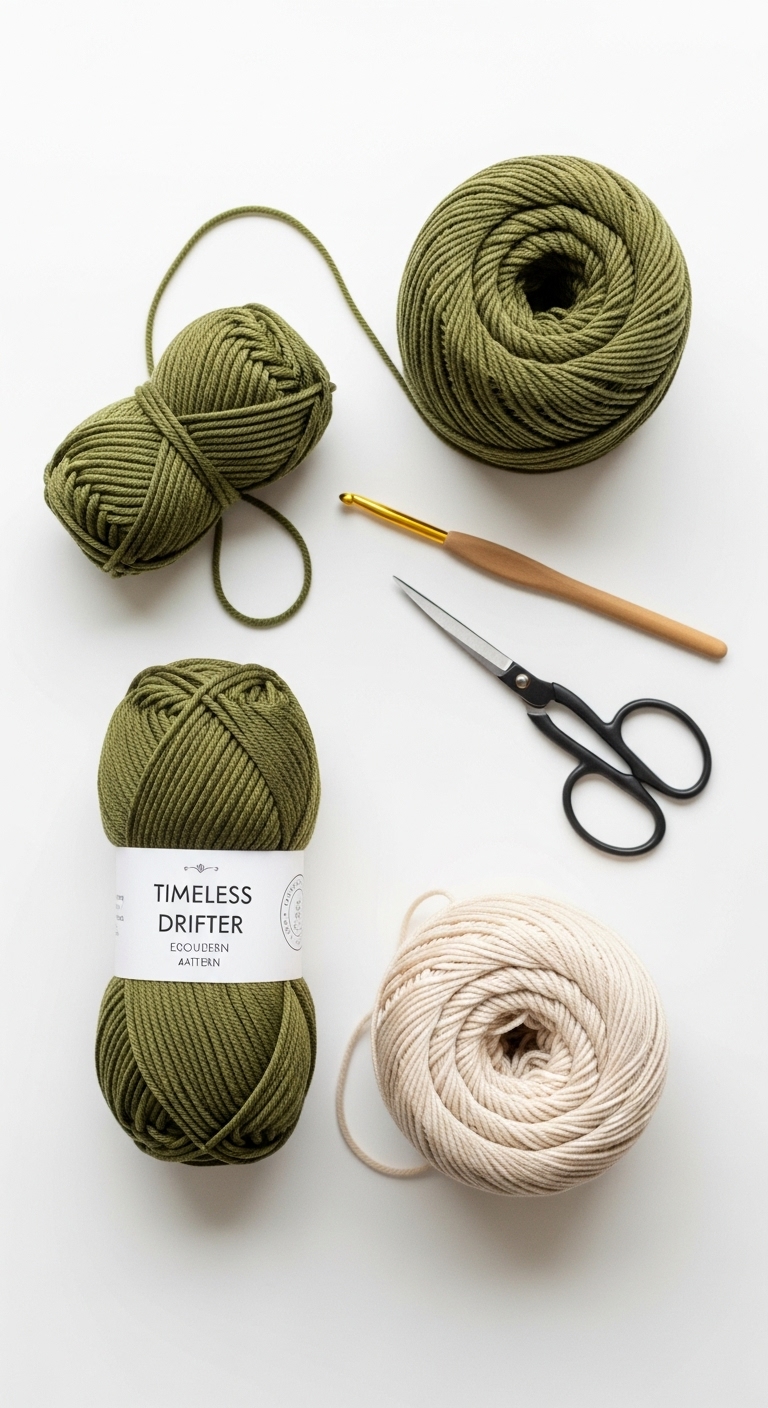
3. Materials Needed
– Yarn: Worsted weight yarn in deep navy, warm ochre, and soft cream – approximately 150 yards total
– Hook: 3.5mm or 4.0mm crochet hook
– Eyes: Not applicable for this project
– Stuffing: Not applicable for this project
– Needle: Tapestry needle for sewing in ends
– Marker: Stitch marker
– Optional extras: N/A
4. Designer Notes / Tips
When working on this earwarmer, you’re going to enjoy a few special stitches that bring wonderful texture to the piece. The pattern uses a combination of front post and back post double crochet stitches, which create a beautiful ribbed effect that not only looks gorgeous but also helps keep the warmth in. If you’re new to these stitches, don’t worry! There are plenty of tutorials available online, and once you get the hang of it, you’ll feel like a pro.
For assembly, it’s important to keep the tension consistent across your stitches to ensure a smooth, even finish. If you find that your earwarmer is a little loose, try using a smaller hook size for a tighter gauge. Conversely, if it feels too tight, opt for a larger hook. As a reminder, always check your gauge before starting to ensure your finished project fits comfortably.
Lastly, if you plan to make this earwarmer for a child or someone who might be sensitive to tightness, feel free to modify the pattern by adding additional rows or adjusting the starting chain for a looser fit.
5. Pattern Instructions
Main Panel
Foundation Chain: Ch 20 (or any even number to fit desired width)
Row 1: dc in 4th ch from hook (this counts as 1 dc and 1 ch), *[ch 1, skip next ch, dc in next ch]* across (20 dc, 1 ch space at each end). Turn.
Row 2: Ch 2 (counts as 1 dc), *fpdc around the next dc, bpdc around the next dc* across to the last 2 stitches, dc in last dc. Turn.
Row 3: Ch 2 (counts as 1 dc), *bpdc around the next dc, fpdc around the next dc* across to the last 2 stitches, dc in last dc. Turn.
Repeat Rows 2 and 3 until the piece measures approximately 22 inches in length or desired size.
Assembly
– Joining: Once your main panel is complete, fold it in half lengthwise, and use a slip stitch or whip stitch to join the short ends together, forming a loop.
– Finishing: Weave in all loose ends with the tapestry needle, and block your earwarmer if necessary to enhance the texture.
6. Closing & Social Engagement
Congratulations on completing your Timeless Drifter Earwarmer! I’d love to see your version. Leave a comment below and share your experiences, or let me know what color combination you decided to try! Remember to share your finished earwarmer on social media — it’s so inspiring to see how everyone brings their unique touch to this pattern.