Tiny Cute Crochet Pumpkin – Free Pattern – Sweet Bee Crochet
2. Introduction
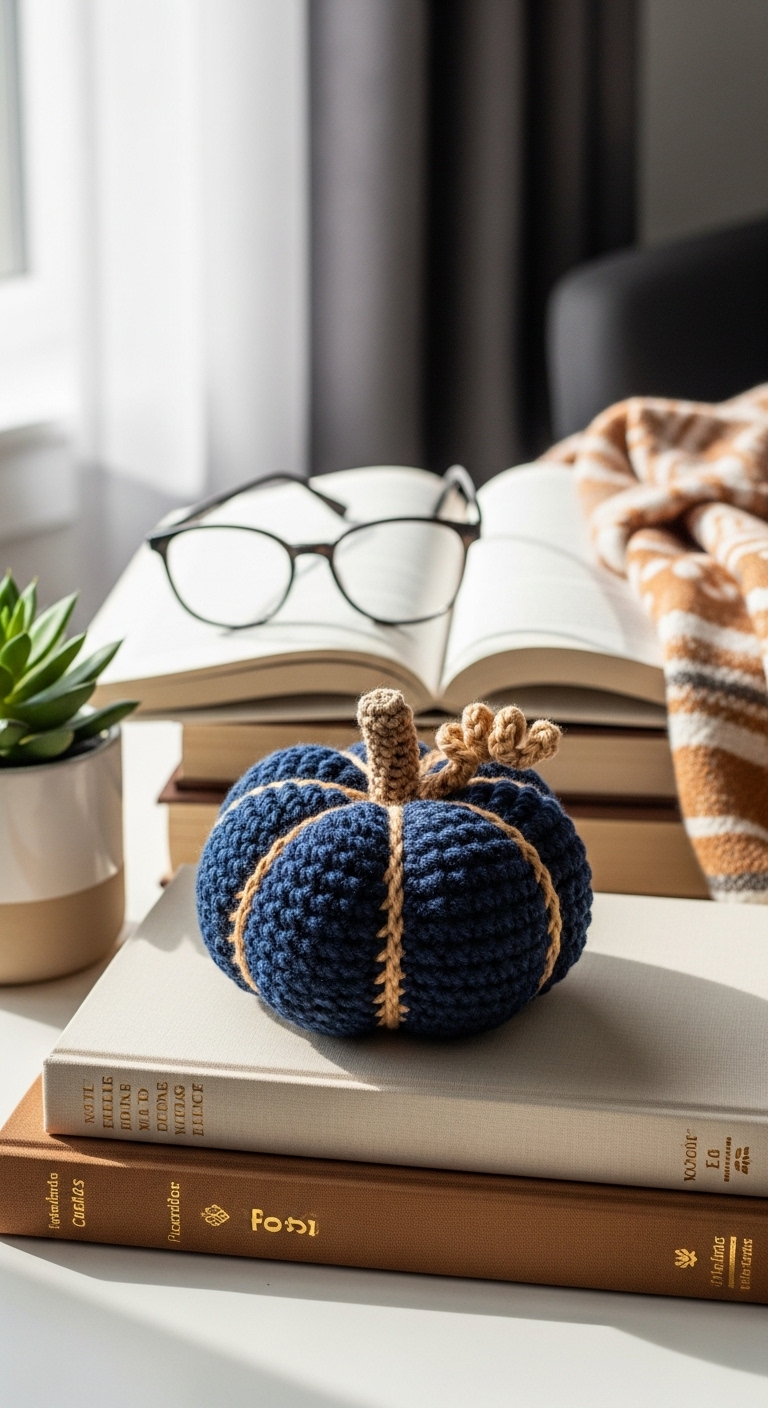
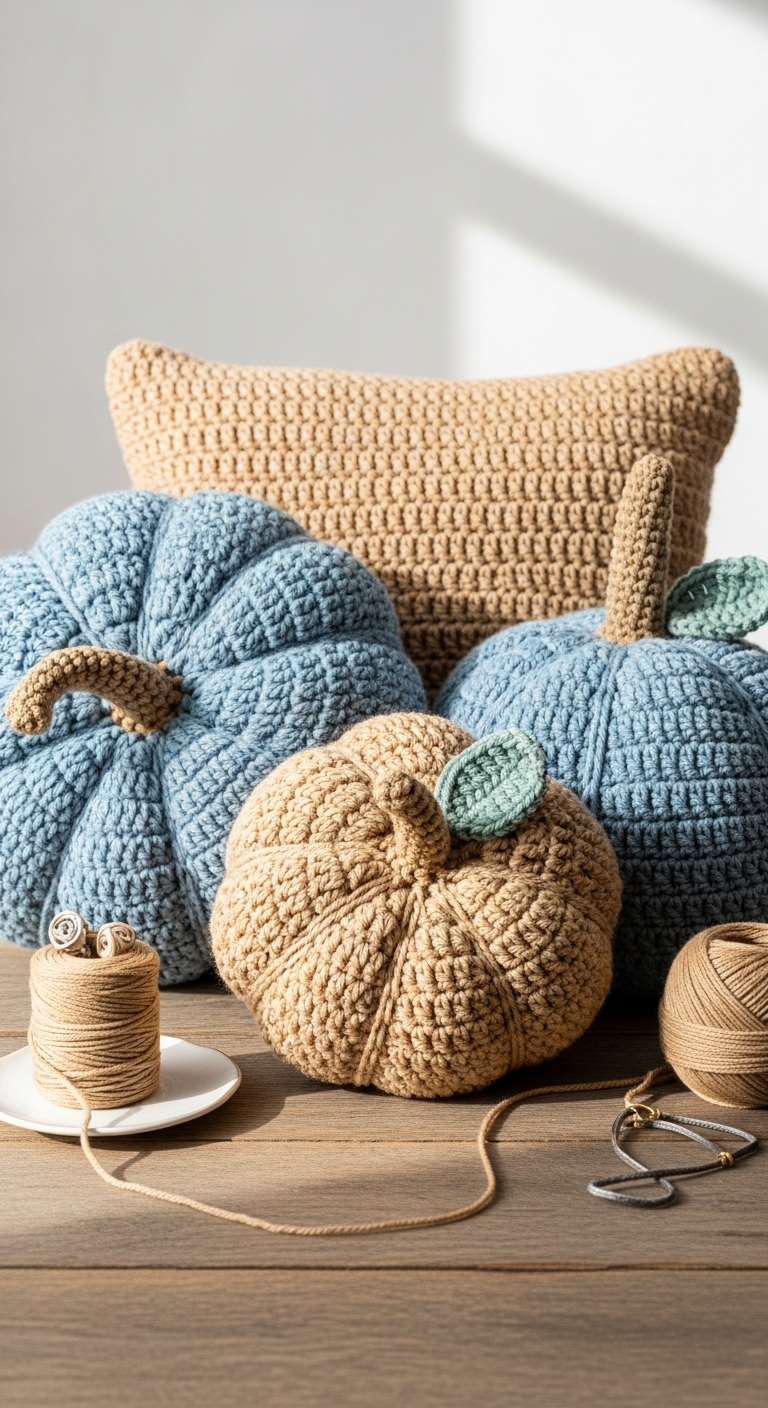
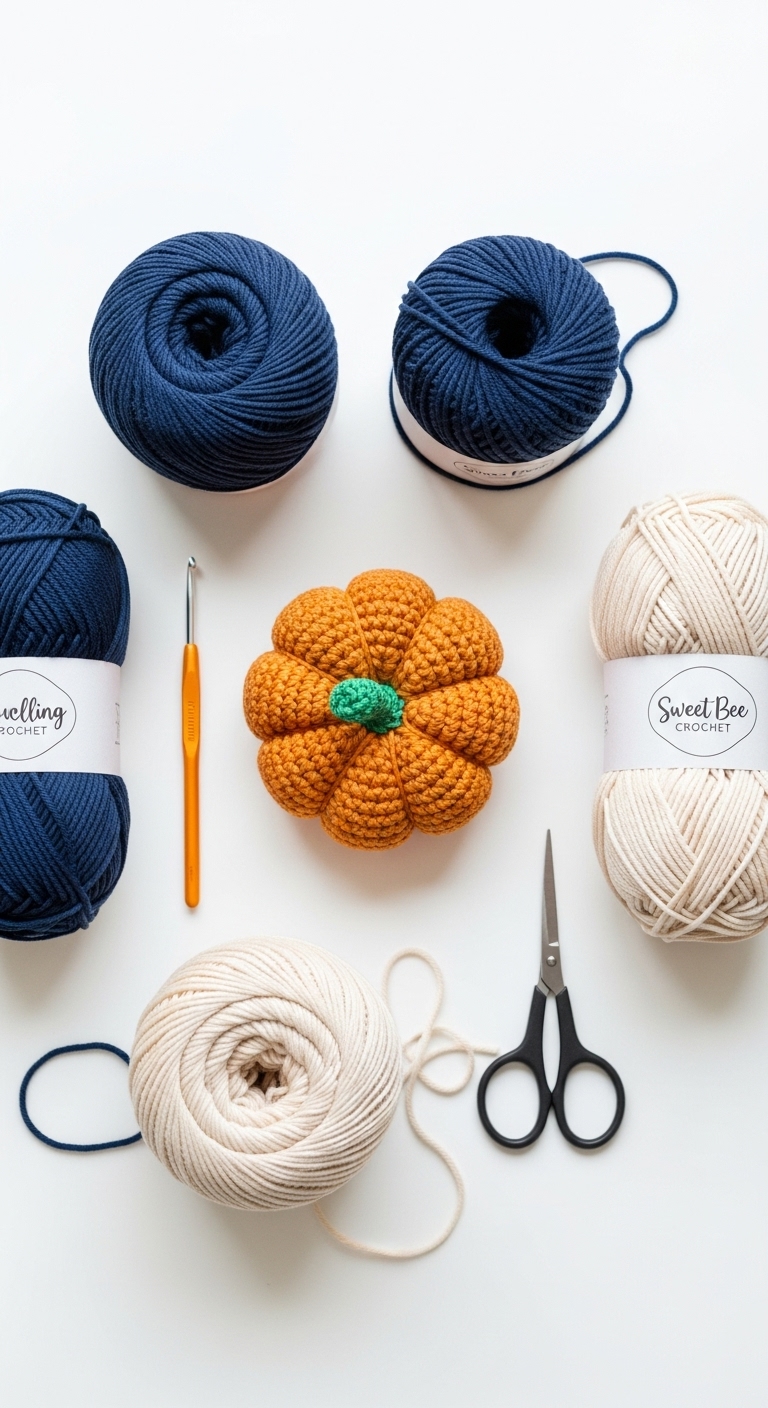
Welcome to the delightful world of crochet with our Tiny Cute Crochet Pumpkin pattern! This charming little pumpkin measures approximately 4 inches in diameter, making it the perfect size for decorating your home during the fall season or presenting as a special gift to a loved one. Its compact shape and plush texture make it an irresistibly cute addition to any autumn decor.
For this project, you’ll need medium-weight yarn in warm autumn tones. We recommend a rich pumpkin orange, a soft cream, and a deep brown for the stem. These colors not only evoke the essence of fall but also bring a sophisticated touch to your handmade creation. Whether you’re making a single pumpkin or a whole patch, this project is fun, quick, and perfect for both seasoned crocheters and beginners alike.
This pattern is beginner-friendly, so don’t worry if you’re just starting out! It’s a wonderful opportunity to practice basic stitches and techniques while creating something festive. Plus, these tiny pumpkins make fantastic gifts or table centerpieces that will surely brighten anyone’s day!
3. Materials Needed
– Yarn: Medium weight (4) yarn in pumpkin orange (approx. 50 yards), cream (approx. 10 yards), and deep brown (approx. 5 yards)
– Hook: 3.5mm or 4.0mm crochet hook
– Eyes: Safety eyes (6mm) OR black embroidery thread for a stitched smile
– Stuffing: Polyester fiberfill stuffing
– Needle: Tapestry needle for weaving in ends
– Marker: Stitch marker
– Optional extras: Green pipe cleaner for a whimsical vine (if desired)
4. Designer Notes / Tips
– Stitch Technique: This pattern primarily uses single crochet (sc) and increase (inc) stitches, making it simple to follow. Take your time to ensure your stitches are tight enough to prevent stuffing from showing through.
– Stuffing Density: For a soft and squishy pumpkin, use a light stuffing. If you prefer a firmer feel, add more stuffing until you achieve your desired firmness.
– Assembly: When you’re ready to assemble, ensure that your pumpkin is stuffed before closing up the final round. This will give it a nice, rounded shape.
– Yarn Substitutions: If you prefer a different yarn, any medium weight yarn will work. Just keep in mind that the color and texture will change the overall look.
– Gauge Tips: A loose gauge will result in a larger pumpkin, while a tighter gauge will create a smaller one. Aim for consistent tension throughout the project to maintain uniformity.
– Safety Considerations: If you plan on gifting this pumpkin to a young child, consider embroidering the eyes instead of using safety eyes for extra safety.
5. Pattern Instructions
For Plushies:
Pumpkin Body:
Pumpkin Stem:
Assembly:
1. Sew the stem onto the top of your pumpkin, positioning it slightly off-center for a more natural look.
2. If using safety eyes, place them between rounds 5 and 6, about 5 stitches apart. If embroidering, stitch a small smile below the eyes with black thread.
3. Weave in any remaining ends, and fluff up the body to ensure it holds its shape.
6. Closing & Social Engagement
I hope you enjoyed making your Tiny Cute Crochet Pumpkin! I’d love to see your version! Leave a comment below with your thoughts and any tips you might want to share. What color combinations will you try for your pumpkins? Don’t forget to share your finished creations on social media; I can’t wait to see them!